This year for my birthday
and Christmas I was given a chance to expand my brewery equipment and make for a
much easier brewday as well.
For my birthday I was able
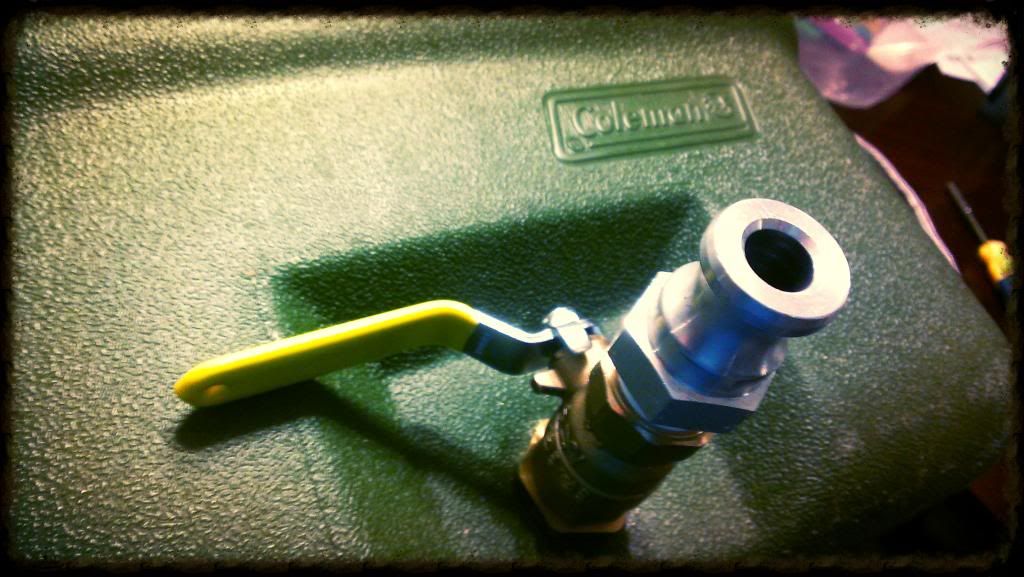
to purchase some aluminum cam lock fittings for the new tubing I am going to be
using. I shopped around and looked at
the brass and Stainless Steel quick disconnects which are way too expensive,
and I also looked at the SnapLocks from Williams Brewing, which looked great
and were affordable, but I faced the issue of having to order, pay shipping and
handling charges, and await delivery if I needed to replace an existing piece
or expand my usage at all. I found that
A1 Coupling, a local store, carries ½” aluminum cam locks for just about the
same price as Williams and I can buy them in town without shipping costs and
times. The aluminum may not look as nice
as the SS, but they will work just as well.
I did end up doing an order
from Williams Brewing for some other items though. I bought their silicone washers to replace
the washers in the cam locks since the silicone is rated for boiling temps and
is food grade. I also bought 10’ of
their ½” thick wall thermoplastic tubing.
I can get silicone tubing here in town at the local brewshop, but it is
outrageously priced and using hose clamps on silicone will destroy it. The thermoplastic is stronger than silicone,
cheaper than silicone, and works great with boiling temps, the only draw backs
are that I can’t get it locally when I need it, and it is opaque making it impossible
to see the liquid flowing through it. I
know another brewer who uses the same tubing in his brewhouse without issues,
so I am fairly confident that it will work great for my purposes.
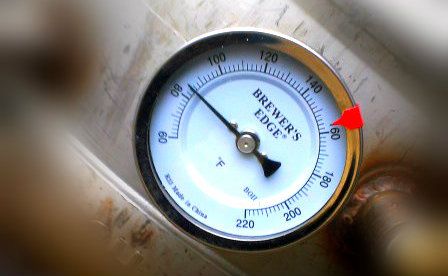
I also ordered a kettle
thermometer from them as well (a Christmas present from my wife). This is going to be a huge help on
brewday. Up until this point I have been
dangling a probe thermometer inside my keggle from a piece of copper wire to
monitor my temperature during chilling.
The huge problem with this is that I have to take the lid off of my
kettle to check on my temperature which opens it up to airborne contaminants or
to debris and bugs falling in. With the
new thermometer installed in the side of the keggle I can monitor the
temperature of the wort from the outside, and with the new lid I have with a
built in notch for my chiller I can keep the lid on from Knock Out to run off
keeping the wort free from any outside contaminants. Along with my new glass lab thermometer that will allow me to calibrate all my thermometers, I should be in good shape for great temperature measurements and more control in my temps.
Speaking of efficient
chilling and a notch in my lid for my chiller, I was able to take advantage of
one of More Beer’s Deal of the Day items.
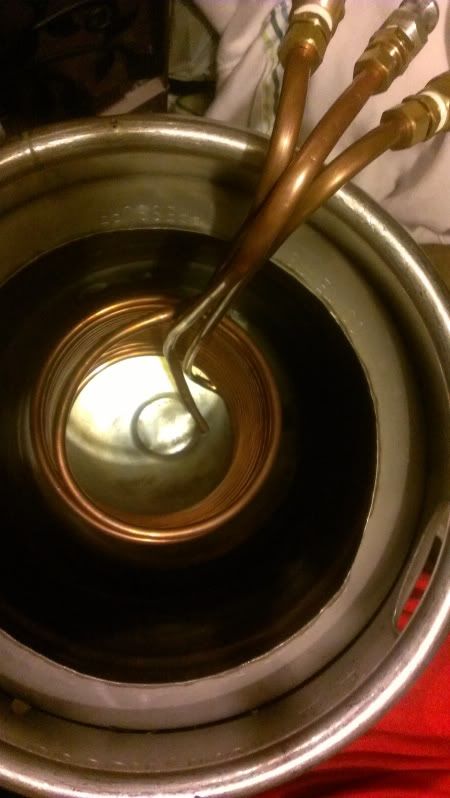
I had been planning on building a new wort chiller from 50’ of ½” copper
tubing to replace my very ghetto 20’ – 3/8” one I built 2 years ago. The cost of all the parts was going to be about
$100, plus the labor to bend and twist all the pieces, as well as soldering,
which I don’t know how to do, and hoping it looked attractive. When More Beer had that exact chiller,
professionally built, for a few dollars cheaper than the cost of the parts to
build one, my wife was very gracious and gave me a “Great Daddy and Husband”
present, and bought the last one. I
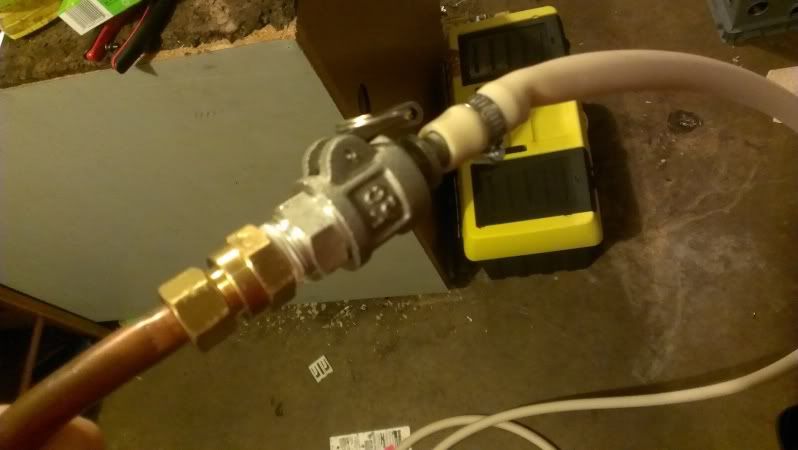
added to this a 2’ length of ½” copper tubing with a J like curve at the bottom
as well as a bend at the top for a whirlpool arm like Jamil’s. I attached a compression to ½” FPT fitting to
it that allows me to connect my male cam lock fitting.
At
this point, many of you may be thinking, why would I need cam lock fittings
with silicone washers, thermoplastic tubing, and a whirlpool arm attachment? This brings me to the priciest new addition
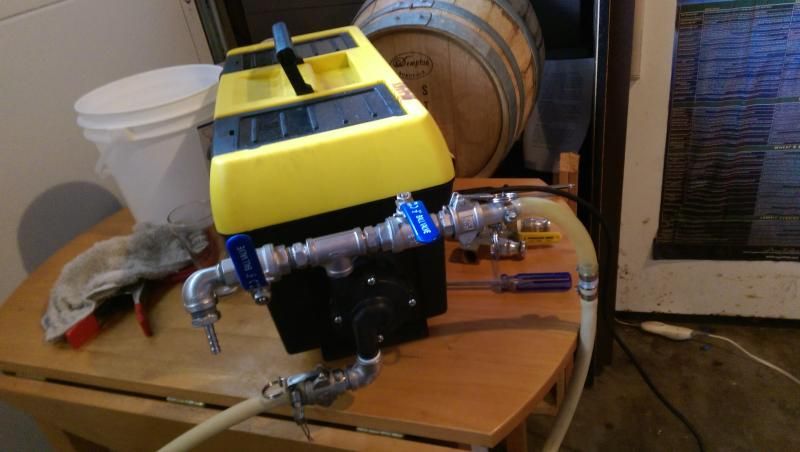
to the brewhouse, the present from my dad: a March Pump. But you’ll have to wait for more on that one.