Showing posts with label Equipment. Show all posts

Friday, January 16, 2015

Keezer Build

I have had quite a few issues with the kegging set up I had.  Mainly, it was due to the fridge being just big enough to squeeze 6 kegs into, but in so doing, I could barely get to the quick connects on top, and couldn't get to my dual regulator or 4 way splitter if needed.  I lost quite a bit of beer over 2 years to kicking up sludge from the bottom of the keg whenever I had to move them around.  I had a Vienna Lager that never got properly lagered due to this.  Recently I started jumping the beer from the keg in the fridge to a clean keg and getting it off the sludge.  It has worked wonders, but is not 100%, and I still face the struggle of getting my tap line off and getting the jumper on.  I really wanted to get a freezer and build a collar, installing real taps.  I waffled back and forth for quite a while.  One consideration is where I would store my hops, bottled beer, and yeast/plates (we kept the fridge and moved it to the garage).

For the end of the year (and of my time in ministry) I got a large financial gift from the church as a bonus and was able to get the freezer I wanted - on sale - as well as buy the wood and other parts for the build. I just couldn't do the fridge anymore.  After stalking the Home Brew Talk thread on Keezer builds and freezer specs for months, I set my sights on the Magic Chef 6.8 cu.ft. freezer.  With a collar it holds 6 kegs, which is exactly what I wanted.  Other models in the 7 cu.ft. range only held 4-5, even with a collar.  When Homebrew Finds put it up as on sale at Home Depot I went for it.  That model is no longer going to be sold at HD and so once my local stores had sold out, I missed my chance.  After talking to multiple people I found a very gracious young lady who located one in Southern Oregon and had it transferred for me.

Wednesday, November 12, 2014

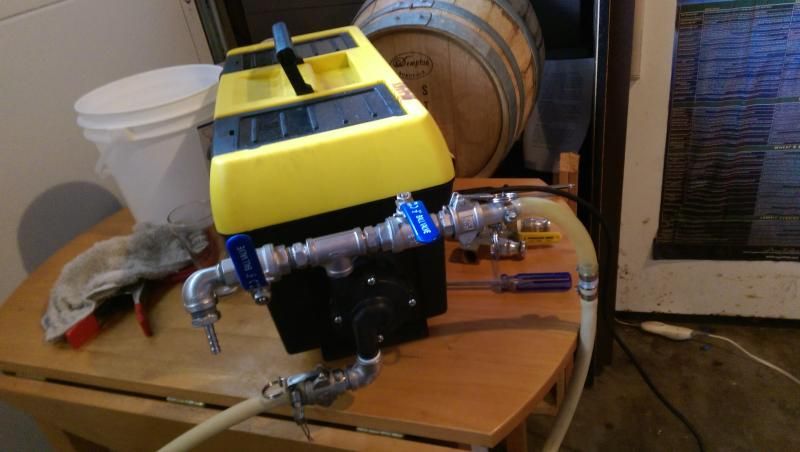
DIY Equipment: March Pump In Tool Box - Rebuild (Stainless Steel with Sample Port)


2 years ago for Christmas my Dad bought me a single present, the March Pump I had been wanting for quite a while.  Since I don't have a brew stand and have to tear down and move my brew house after every brewday the best option for my needs was to build it into a tool box.  I happened to have a tool box fit for the job as well.  Originally I had looked at BYO articles for the build, as well as a few others.  I opted to include an outlet along with the switch so that I can plug in other electrical equipment when needed like my vacuum sealer for resealing hops.  I also went with a flat light switch instead of the standard one that sticks out away from the surface, this will keep me from possibly catching something on it and accidentally turning it on while dry.

After a few years of using the original mixture of brass fittings with the aluminum camlocks I finally switched to all Stainless Steel.  This gives me the ability to know that there isn't any reacting of the metals, and allows me to use any SS safe cleaners with out worrying if that cleaner is safe for multiple metals.  And lets just be honest, the full SS looks sexier.  I scored SS cam locks for my birthday gift from my wife, and had some bonuses from work that allowed me to source the other pieces on eBay for a good deal.  On this iteration I also added a second ball valve on the out flow for bleeding off air and for pulling samples (thanks to the recent BYO article for giving me more info on this).

To make it easier on anyone wanting to build there own, I have included the original build of the pump into the tool box, and then updated the install of the fittings onto the pump head.

Monday, June 30, 2014

DIY: Digital Dual-Stage Temp Controller Build


This How-To will walk you through how to build your own Digital Dual-Stage Temperature Controller.  I sourced many of the extra parts (wire, outlet) from Goodwill.  The temperature control unit was purchased on eBay for $20 shipped.  The project box was purchased from RadioShack for $6.50.  Total cost for me $30, which is much cheaper than the Ranco and Johnson controllers sold for $150.00.

Here is the link to the Temperature Conversion Chart which includes the year round offerings from WYeast (plus quite a few of their PC strains), the temp range for each yeast, and if they recommend a diacetyl rest for the strain.

Monday, September 16, 2013

DIY: Hop Oast

One of the more substantial cost for brewers from batch to batch is hops, especially if you want to brew lots of American styles, IPA and Double IPA in particular (as well as India Session Ales, Black IPAs, Red IPAs, etc.).  The other large cost is yeast, but with some effort, you can always purchase this once and repitch the yeast to keep costs down.  Finding a way to keep costs down on hops isn't as simple.  Though some brewers have supposedly dry hopped a beer and then put those hops into the kettle for bittering another brew, I wouldn't ever do this as you don't know what kind of bittering you will get out of it, and what do you do with the hops between brews to ensure they don't spoil?  

There are other, more effective ways to save money on hops.  One way that I have enjoyed is to get some hops in bulk when they are around at a great price.  I was able to get in on a group buy last year for Simcoe and Mosaic, 1# each, $10/#.  I also got a pound of CTZ for around $12.  These prices are great for the varietals, but there is still a much cheaper way to get great hops.  Grow them.  I am not going to tell you how to grow them here; there are many good resources both online and in print on how to grow them in your yard.  This post is what to do with them once you have grown them and established they are ready to pick (another topic I am not going to discuss here).  This is how to build a Hop Oast for drying them, then a secondary post on how to package them for storage and future use.

HOP OAST
Parts Needed: (around $30)
  • 7 @ 2X4X8' Kiln Dried Fir
  • 48" X 7' Aluminum Screen Material roll
  • 3" Wood Screws (56)
  • Staple Gun
  • Box Knife
  • Cordless Drill

Friday, June 21, 2013

DIY Project: Hop Sprinklers

Last year I tried running a drip irrigation system on my hops.  I continually blew the cap off the end due to the pressure.  This year I wanted to install something a little hardier to water my hop yard.  My pastor is moving away and had a lot of 1" PVC pipe he was getting rid of and I was able to get nearly 30' of it.  My original design was to just run 40' and drill 1/16" holes in front of the hops and leave it above ground.  The UV light from the sun would eventually degrade the PVC, but the frost would burst it if there was any water in the line once Winter came.  

Thursday, February 14, 2013

CO2 Forced Racking

Oxygen impacts both the flavor and stability of beer in many ways.  Small amounts of oxygen over extended periods of aging in big beers can impart lovely Sherry and dark fruit notes in beers like Barley Wines, Dopplebocks, and Scotch Ales, while Imperial Stouts can take on the flavor and aroma of soy sauce.   Small amounts of oxygen in sours can lead to the growth of acetic acid bacteria, while too much oxygen will turn the beer to vinegar.  If you've ever had a gathering at your home that included beer consumption and left the mess for the next morning, you know the smell of oxidized beer, a beer that has been exposed to way too much oxygen, the smell of wet cardboard.  Aside from aroma and flavor degridation, too much oxygen in the brewing process can lead to an unstable product that might taste good (not great) fresh, but quickly decline after packaging.  One of the fastest beers to decline from too much oxygen is an IPA; known for it's beautiful aromatics, oxygen exposure with hops make them dull quickly, this is the reason why so many homebrewers want kegs for at least their IPAs.

Friday, February 1, 2013

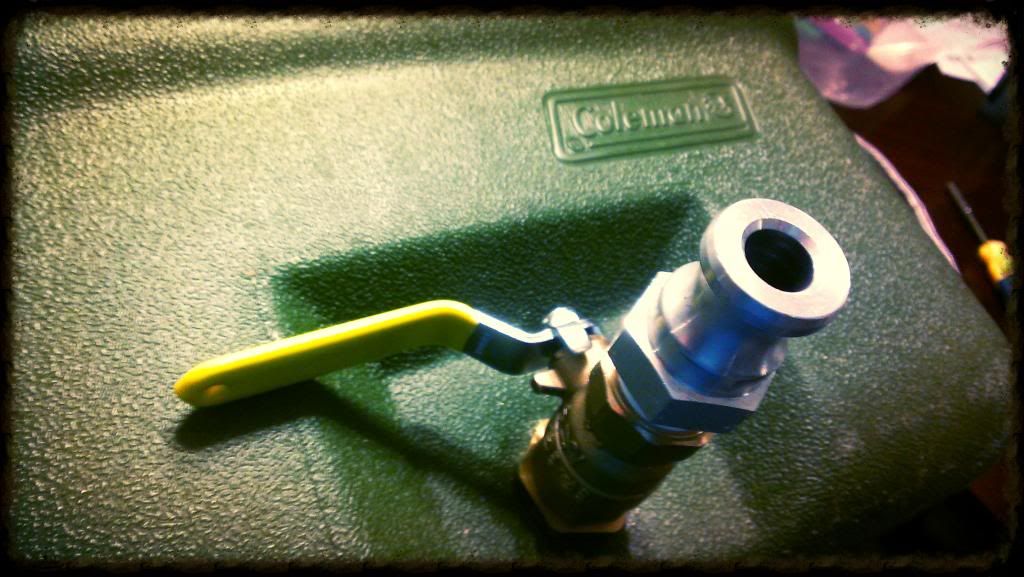
Mash Tun Ball Valve Bulkhead Build

When I first went all grain, I built the traditional cooler mash tun with SS water hose braid.  I used the set up that Denny Conn uses (rubber bung, nylon valve, vinyl tubing) which seemed a good fit since we are in the same brew club, and he was very helpful in answering my questions via email on how to build it.  It worked great for the past 2 years with few exceptions.  The biggest issue I have with it is that, with my set up, I have to run it off into my kettle on the ground, then move the kettle to the burner.  As I have increased my volumes, this aspect proves very difficult and dangerous.  At the end of each brew day, my back hurts quite a bit.  With my new pump, I can let the machine move the wort to the kettle that is already atop my burner awaiting my fresh wort, only problem is that my nylon valve and vinyl tubing won't work with my pump.  To remedy this, I decided to remove the old set up and install a ball valve with camlock fitting.  I priced many of the SS versions that sell at the homebrew shops, and just couldn't justify the extra cost to have SS, so I pieced it together myself for under $20 (bulkhead and ball valve only - cooler, camlock, copper tubing, SS braid are all extra costs).

Tuesday, January 22, 2013

March Pump in Tool Box Build

This year for Christmas my Dad bought me a single present, the March Pump I had been wanting for quite a while now.  Since I don't have a brew stand and have to tear down and move my brew house after every brewday the best option for my needs is to build it into a tool box.  I happened to have a tool box fit for the job as well.  I looked at the BYO article for the build as well as a few others and made a couple tweeks.  One tweek I added is to include an outlet along with the switch so that I can plug in other electrical equipment when needed like my aquarium pump for aerating my wort pre-fermentation.  I also went with a flat light switch instead of the standard one that sticks out away from the surface, this will keep me from possibly catching something on it and accidentally turning it on while dry.