
 As I continue to bug out on bacteria and wild yeast (pun intended), I find more and more information on ways to culture and grow them. I am also beginning to get more technical than simply adding dregs to starter wort and letting it go for awhile, though that works well. Part of this is coming from reading a lot of information over on BK Yeast's blog, and part from the fact that I have been hanging out with Stephen, a buddy from church, who has a lab in his garage and works in microbiology. In my reading I came across a post on BK Yeast about making Yeast Extract. In the yeast ranching world Yeast Extract (YE) is an important component. It is one of the main ingredients in agar plates for growing yeast and brewing bacterias, along with a sugar source (usually malt and glucose), and hydrolized protein. In the DIY spirit of homebrewing he set out to make his own YE for plates and for growing cultures. I followed most of his instructions to make my own, including information in his follow up post, and both Stephen and I used it with great success when mixed into our yeast starters.
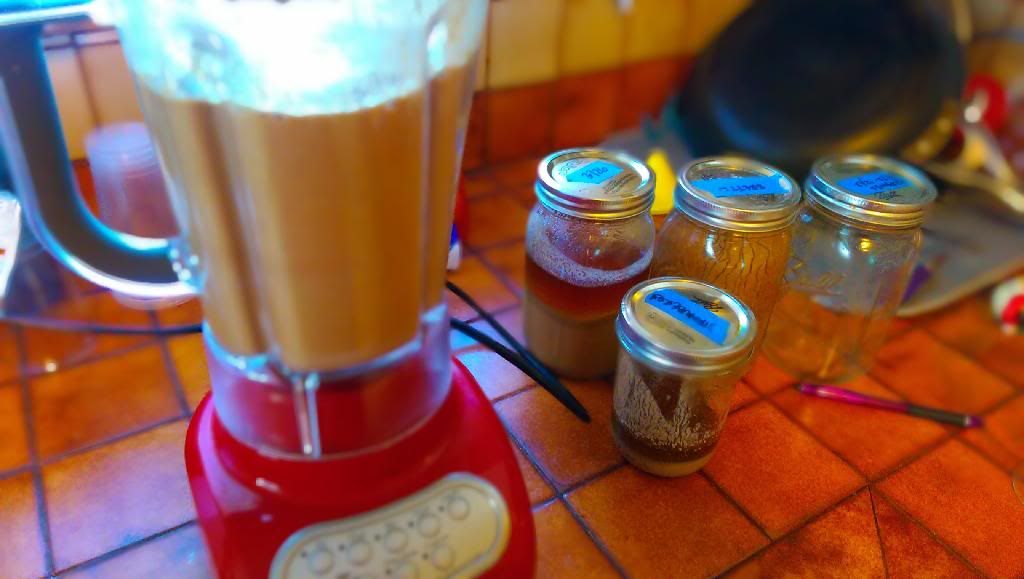
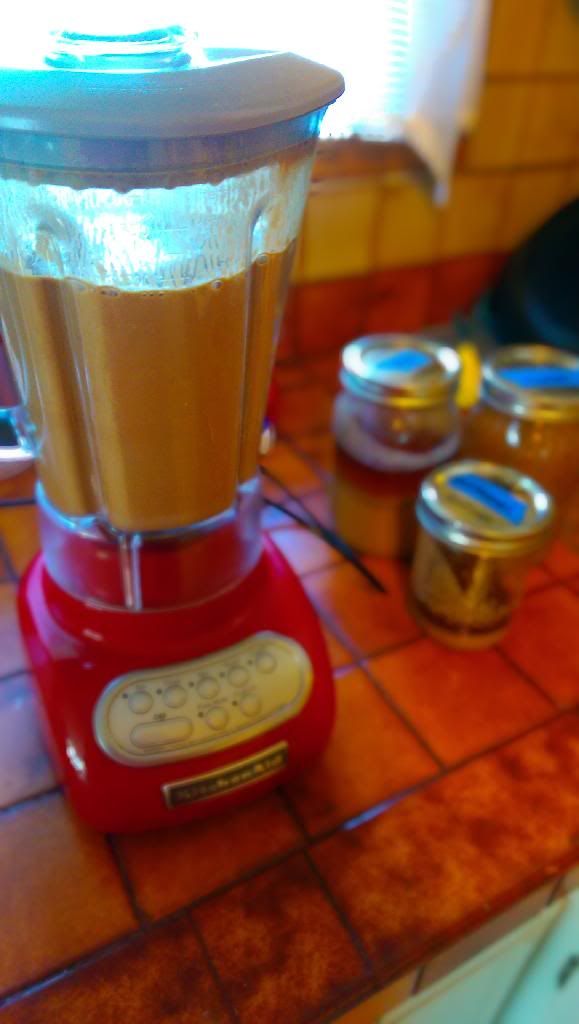
Step 1: Old Yeast Slurry
 Yeast extract is basically all the parts of the yeast cell, less the cell walls. If you have read any brewing literature you will be familiar with this as it is autolosis. When yeasts die and go through autolosis the cell walls break open and spew the innards into the beer. In an actual beer this is never desirable. But for a growing media there is nothing more nutritious to multiplying yeast than dead yeast guts (cannibals). You will want a sizable amount to make it worth the effort, so get into the fridge and grab all those jars of washed yeast you never reused, or bottle that sour beer in the garage and snatch the 18 month old cake.
Step 2: Chop It Up
You will want to break up the cell walls to get all the goodies on the inside to come out. Easiest way is to use a blender. Be careful though, if you fill it too high and then blend it the volume expands greatly and can cause a huge mess. When BK Yeast did this, he added meat tenderizer to help rupture the cell walls from all the sodium. He stated in comments and his follow up post that he didn't think that this was a necessary step, so I omitted it, that and I wasn't going to drop $10 on meat tenderizer. I dumped the yeast slurry into the blender and then added half the volume in water to it. In batches I blended it up until I had roughly 2 liters of slurry and 1 liter of water. I put this into my Dutch Oven as it was the only thing I had big enough. If I still had my Crock Pot with the warmer setting I would have put it all in there.
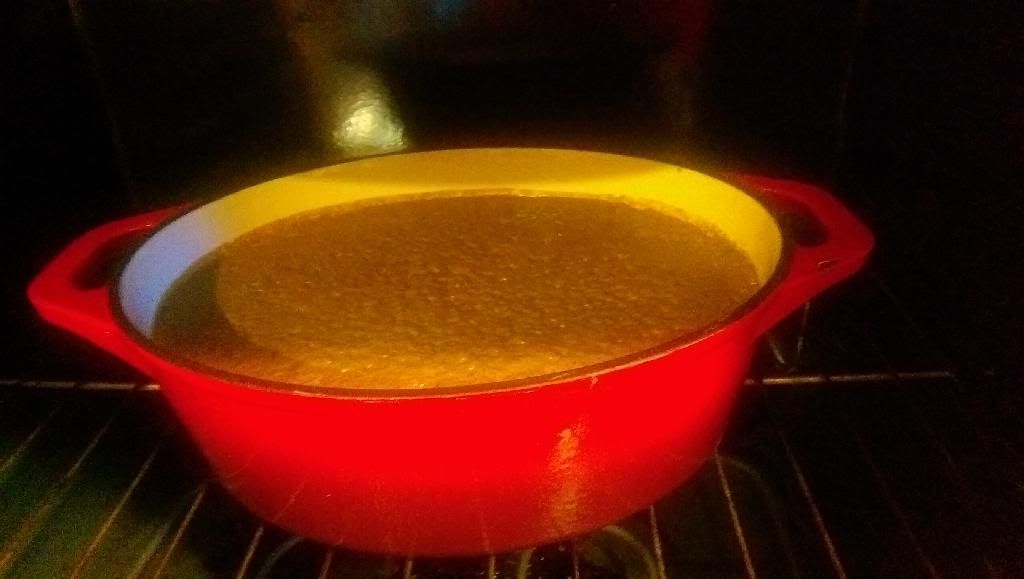
Step 3: Keep It Warm
The ensymes naturally inherent in the yeast which break down the cell walls work best around 122*F so I heat the sludge to 120*F then put it into the oven on the lowest setting for a few hours, then turned it off for the night and allowed it to sit warm until morning.
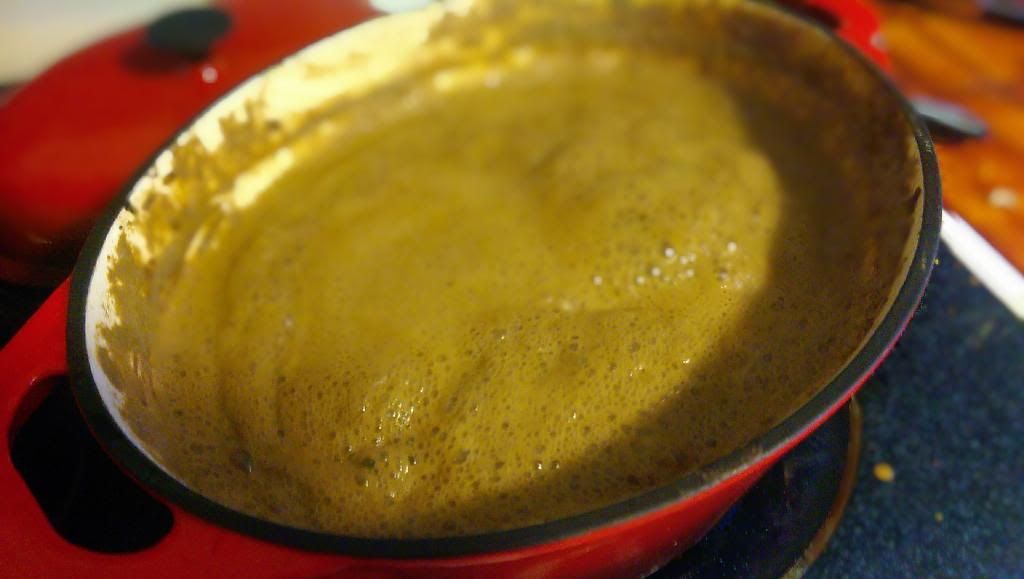
Step 4: Top Up and Boil
In the morning I opened the lid to a huge froth of yeast cell walls atop a very soupy liquid below. I added another liter of water to the dutch oven to ensure a good volume and boiled this to kill off anything that might be in there and to denature the ensymes. The vigor of the boil and the heat should also finish off any whole cells and bust them open if they were able to survive the blender and the enzymes. This also caused the cell walls to fall out of suspension much like hot break in the boil.

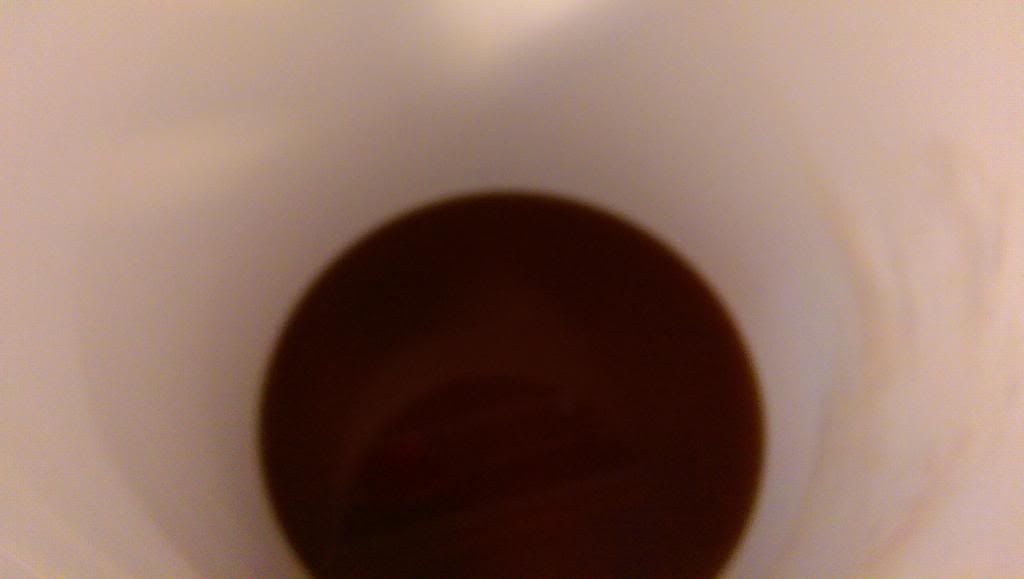
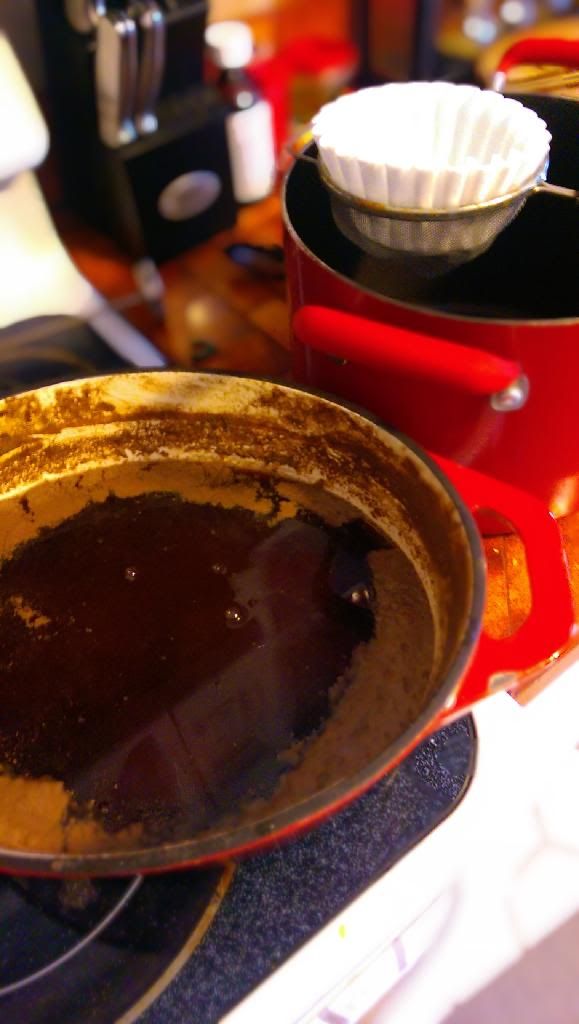
Step 5: Filter
I tried pouring it through 8 coffee filters, but that was too much. Tried 3, still too much. Tried one, still clogged up with debris. At this point I took a hint from BK Yeast and used cloth and napkins. I took a bucket from the brewhouse, put a cloth bag (old Brew In A Bag bag) over the top and then a thin 12 year old cloth towel over that. I weighted it down slightly and then taped it on the bucket so it wouldn't drop in. I layered a few paper napkins on there, and then scooped the YE out of the Dutch Oven onto the filter. It took a good hour to strain, and I had to scoop out some of the cell walls to get the filter to run again. But when it was all said and done I had a very dark brown (think American Brown Ale), clear liquid.


Step 6: Package and Sterilize
Once the cell walls and debris are filtered out and you have clear liquid you need to package the YE. I packaged it in quart jars and then realized that every time I open the jar to use 100ml-250ml of YE I expose it to air and dust and bacteria which could get into the jar and infect it. It would be better to use smaller containers, like 50ml centrifuge tubes so you can use just one in small starters and use a few in bigger ones. It is also imperative to not just simply boil and can, but to sterilize the entire package and contents by putting it into the package (mason jar, centrifuge tube, etc.) and then placing this into a pressure cooker at 15psi for 25 minutes. This will fully sterilize the package and contents leaving no bacteria to cause problems at all.

Step 7: Use
Next time you make a starter add some of the YE to the starter for a much larger growth. I did 150g of DME, 250ml of YE and then another 1250ml of water for 1500ml of ~1.040 OG wort. When I pitched my Brett Trios into the wort on my stir plate it took off quick and the starter was able to begin fermentation within hours of being pitched. My buddy Stephen used some of the YE in a Kolsch starter, 1 smack pack into 4500ml of starter in a 6L flask and within one day the foam was bursting from the top of the flask and flowing over the sides. He had to turn off the stir plate and lost over 100 billion cells to slurry under the stir plate. Our estimates show that he should have had around 550 billion cells with a starter not containing the YE, and he ended up with 685 billion plus whatever was lost from the overflow (estimating 100-200 billion cells). We will be doing an actual test soon with exact measurements on YE, DME, Water, pre-starter cell count, and post-starter cell counts for some more definitive data. For now it is safe to say this stuff works great!
Hey!
ReplyDeleteI'm researching a way to make my own YE at the moment and your post has been very informative. With the industrial processes describes elsewhere you always need lab equipment which I don't have.
However, I don't want to make YE to brew beer. I'd like to try it as an added flavour in my cooking. Have you ever tried that? Like add a small amount to a soup or sauce? I'm really interested!
Greetings from Germany!
I haven't as of yet, but I did just make up a brand new batch of it a couple weeks ago. I might have to toss a vial into a soup soon (wish I would've seen this reply last night as I made soup for dinner). The method I use doesn't require any lab equipment, just a pressure cooker.
DeleteOkay, cool. If you do so, let me know ;)
DeleteHello! just curious about it. In step 4 you boil the liquid content to kill off enzyme and potential biological contamination. Does boiling adversely affect the quality of the YE?
ReplyDelete