In most modern labs cultures and media are grown on some sort of tray or platform designed to move the liquid culture for faster growth. In the brewing world we use stir plates. These contraptions use magnets to create a vortex inside the liquid yeast starter which off-gases the CO2 and brings in oxygen from the ambient air for a much higher cell growth. This works great when you have a high enough volume to use a stir-bar and flask, but what about those initial steps?
In the Yeast: A Pratctical Guide To Beer Fermentation, author Chris White of White Labs gives a flow chart on the best practice for growing yeast from a slant or plate, I also apply this to growing it from bottle dregs as well. This is his flow chart:
Slope/Slant/Plate Culture
Strain Selection/Maintenance
10 ml wort (8 *P)
25* C, 24 hours, aeration/shaking
100 ml wort (8 *P)
25* C, 24 hours, aeration/stirred
1000 ml wort (12-16 *P)
22* C, 24-48 hours, aeration/stirred
It is that first step, the 10 ml of 8 *P wort that is to be shaken for 24 hours that is the concern of this project. If you are like me the only days you are home long enough to shake a vial of yeast for 24 hours is on the weekends, but there are far better things to do with 24 hours on a Saturday (like play with the kids, do laundry, brew, sleep, have friends over for dinner, mow the lawn, etc.). That is where this DIY Shaker Tray comes in. The point of this build is to create a tray for the vials to be held in that will continually shake them for you for 24 hours. It is actually a very simple build.
Wire Cutter
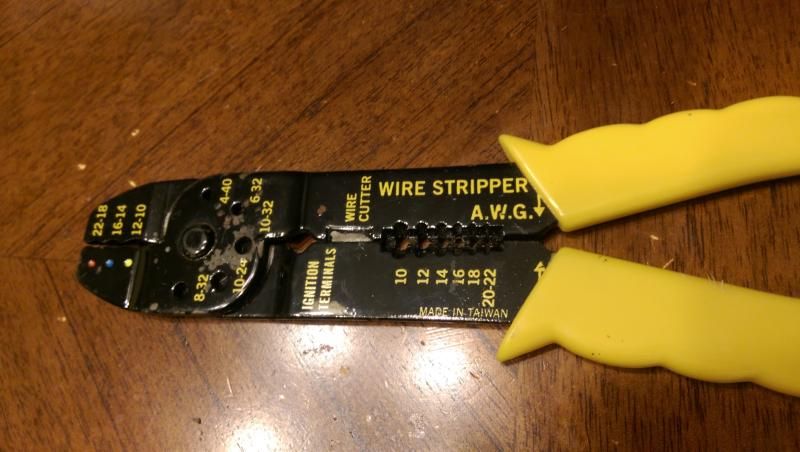
Wire Crimper
Electric Drill w/ Drill Bit
Parts:
Cigar Box ($5 or less)
AC adapter plug ($3 or less at Goodwill)
Vibrating Motor for Cushion Massager ($6 on eBay)
Galvanized Hanger Strap ($4 or less Lowes/HD)
Wood Screws 6 X 1/2" ($3 or less Lowes/HD)
Wire Connectors 22-18 gauge - red ($3 or less Lowes/HD)
Cardboard box same size as cigar box lid
Additional Parts (for use, not build):
Cylindrical Ice Tray ($2-3 at Goodwill)
Autoclavable 25 ml Lab Vials
Build:
First you will want to cut the device end from the AC adapter. This will leave you with the wall plug and a good length of cord. Strip 1/4" off the ends of the wire to expose the actual copper wire under the plastic covering. Twist the copper wires around themselves so they are no longer fanned.
Next, drill a hole in the back of the cigar box in the middle towards the bottom for the wire to feed through. The hole doesn't need to be much bigger than the wires. Feed the wires from the outside of the box to the inside of the box. The exposed wires should be on the inside with the wall plug on the outside.
Push the exposed wires into one end each of the wire connectors and crimp the connector in place.
For the next step you need to test the wire placement of the vibrating motor. DO NOT CRIMP WIRES UNTIL YOU HAVE CONFIRMED THAT YOU HAVE TO CORRECT WIRE PLACEMENT. Put the red wire into one of the connectors and the white in the other, and while holding them in place, plug in the AC adapter to see if you have power to the unit. If it works, crimp the wire connectors with each wire in place, if not, switch them and check again.
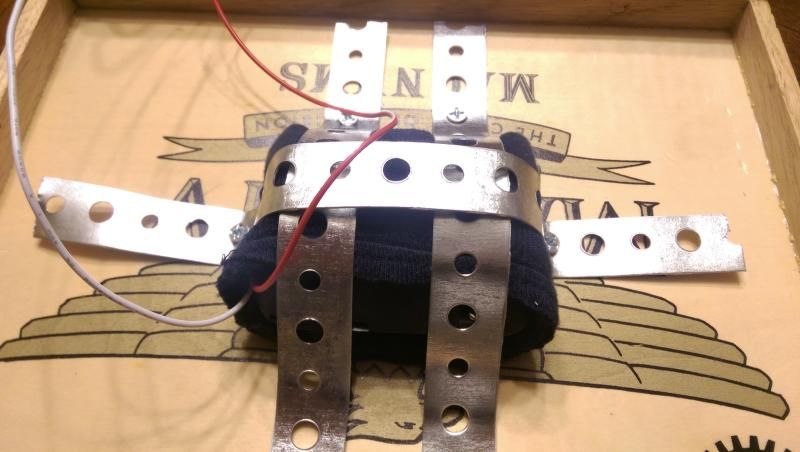
I added a sleeve cuff from an old 12 month old sweatshirt I cut off for a little bit of padding as this motor is powerful. I wrapped it over the motor before mounting the motor to the cigar box. This is an optional step, but is a good sound buffer for sure.
Next, cut 3 lengths of the Hanger Strap to mount the motor in place. I took 2 straps over the motor short ways, and one over it long ways. This keeps it nice and secure so it won't wiggle itself out of the straps and bounce around the inside of the cigar box. Once you cut the straps to length, attach them with screws to the underside of the cigar box lid. Be careful as the screws will probably break through the lid of the box.
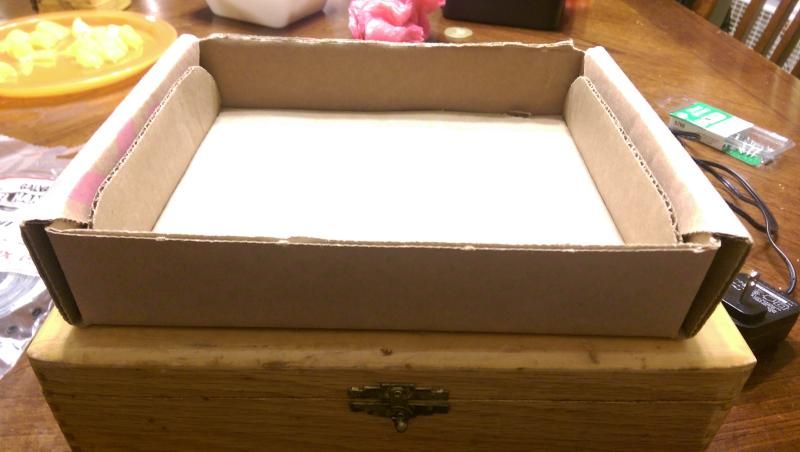
After you have mounted the motor and closed the box, force the cardboard box down over the protruding screws so that it stays in place. If your box lid was thick enough that the screws didn't break through, then use some glue to attach the cardboard box. You can always add a little more flair and cash by building a top for the box from wood so that it looks nicer. For now, I am content with the cardboard box, especially if there is a spill and needs a cleaning; I can just toss the cardboard and push a new one on.
This concludes the build of the box. Great. You're done. Now what?
Usage:
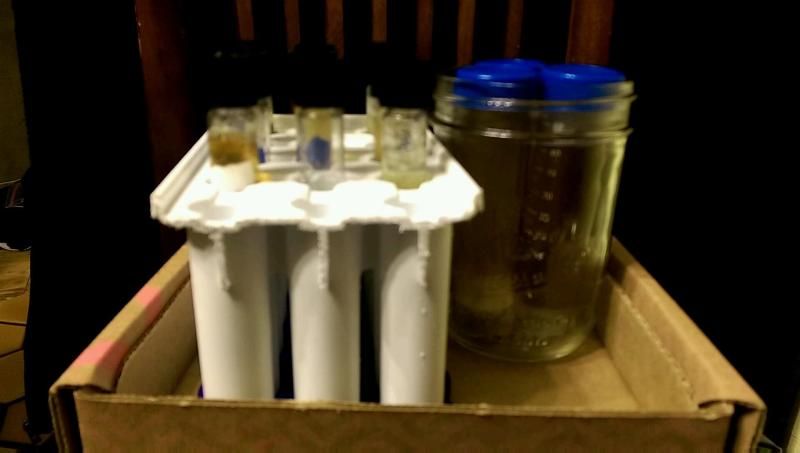
At this point you will need something too hold your vials in an upright position so they don't fall over and leak or spill everywhere. I found a cylindrical ice tray at Goodwill that fits the vial perfectly. They have a plastic bottom that pulls off easily, and can be run through the dishwasher. They are very sturdy and will not break, they won't fall over, and the plastic and rubber won't cause the vials to shatter as they bounce around. I cut a few rows off to allow it to fit inside the cardboard box sideways. I can get 2 in there side-by-side or 1 with some larger vials. For my 50 ml lab vials I place them inside a pint mason jar (holds 3). I can fit 2 pint jars and one holder with up to 12 vials on the shaker at one time (not that I will need to build up that many different yeasts at once).
Once you have your vials inoculated (from bottle dregs or colonies on a plate/slant), put the lid back on the jar, but don't tighten it down all the way (you want CO2/O2 exchange). Place the vials inside your holder in the tray. Put the hole shaker tray inside your incubation chamber and set it to 77*F/25*C. If you don't have an incubation chamber, then get to the warmest place in the house, but no warmer than 77*F/25*C. Plug in the shaker tray and allow it to run for 24 hours. Once the 24 hours is over pitch the entire contents of the vial into a 150 ml Erlenmeyer Flask with 100 ml of 8*P/1.032 OG wort with a stir bar and place it on a stir plate (don't have one, make one). Continue the steps as outlined above from the Yeast book. I would recommend that all of the steps be grown in sterile wort that has been processed in a pressure cooker at 15psi for 25 minutes. This will kill any and all bacteria that could be present, making it much less likely that you could have any bacteria growing in your media. The potential for bacteria infection raises with every transfer, so stay on top of your steps to get the yeast active and growing and moving at a quick rate.


No comments:
Post a Comment