
 I have had quite a few issues with the kegging set up I had. Mainly, it was due to the fridge being just big enough to squeeze 6 kegs into, but in so doing, I could barely get to the quick connects on top, and couldn't get to my dual regulator or 4 way splitter if needed. I lost quite a bit of beer over 2 years to kicking up sludge from the bottom of the keg whenever I had to move them around. I had a Vienna Lager that never got properly lagered due to this. Recently I started jumping the beer from the keg in the fridge to a clean keg and getting it off the sludge. It has worked wonders, but is not 100%, and I still face the struggle of getting my tap line off and getting the jumper on. I really wanted to get a freezer and build a collar, installing real taps. I waffled back and forth for quite a while. One consideration is where I would store my hops, bottled beer, and yeast/plates (we kept the fridge and moved it to the garage).
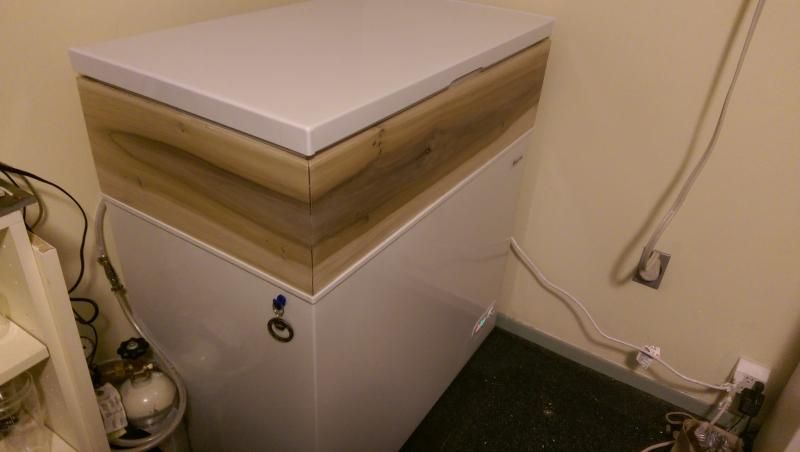
For the end of the year (and of my time in ministry) I got a large financial gift from the church as a bonus and was able to get the freezer I wanted - on sale - as well as buy the wood and other parts for the build. I just couldn't do the fridge anymore. After stalking the Home Brew Talk thread on Keezer builds and freezer specs for months, I set my sights on the Magic Chef 6.8 cu.ft. freezer. With a collar it holds 6 kegs, which is exactly what I wanted. Other models in the 7 cu.ft. range only held 4-5, even with a collar. When Homebrew Finds put it up as on sale at Home Depot I went for it. That model is no longer going to be sold at HD and so once my local stores had sold out, I missed my chance. After talking to multiple people I found a very gracious young lady who located one in Southern Oregon and had it transferred for me.
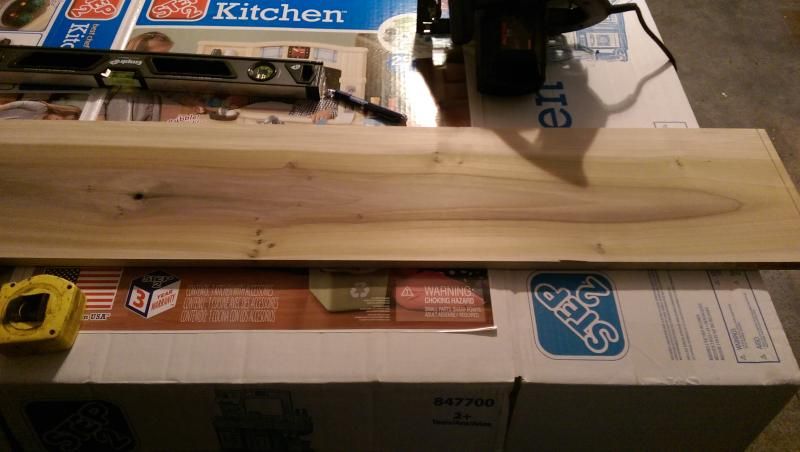
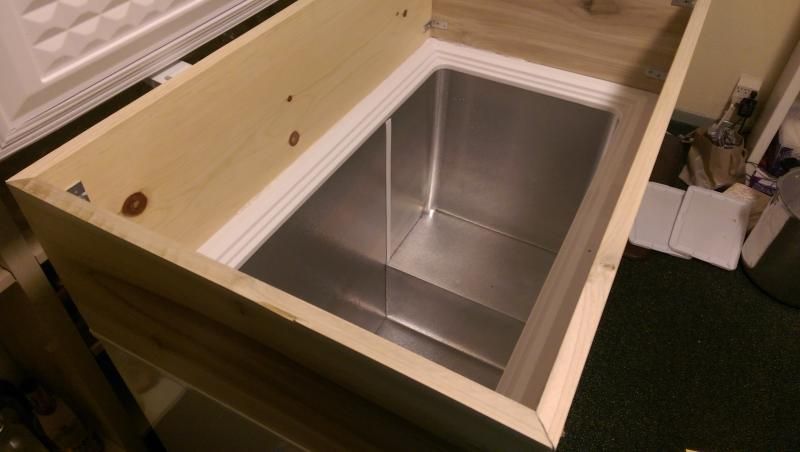
For the collar I debated whether to go with a 1" or 2" thick wood, or maybe a 1" wood with 1" insulation on the inside. I settled on 1" thick wood, a beautiful piece of Poplar that my wife really liked. I used this for the front and side panels, but on the back panel I used standard 1X10 pine as it is much cheaper and won't be seen against the wall.
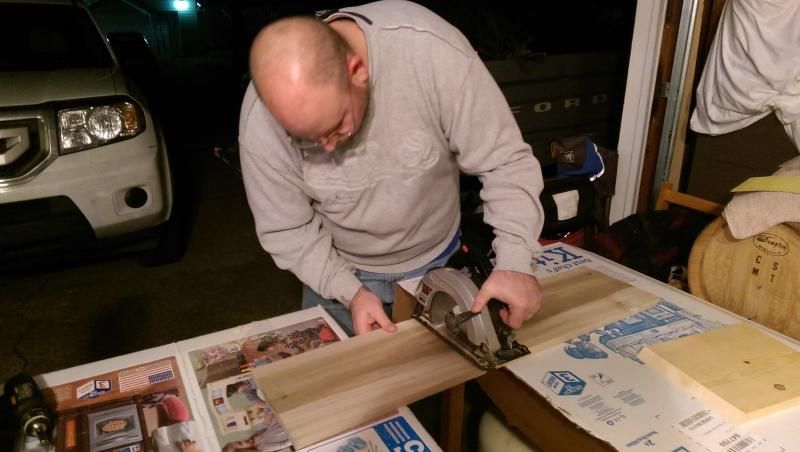
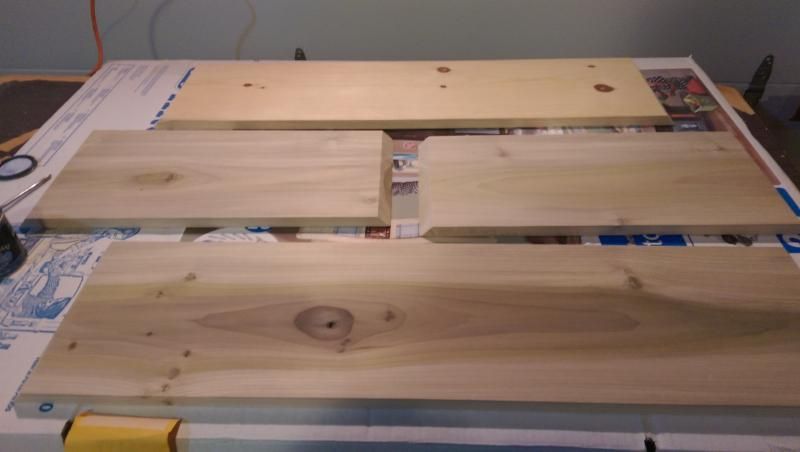
For the build I went with a mitered edge so that the grain would continue to keep its flow as it wrapped around the edges. Of course, I don't normally do wood working, so the edges and joints have some gapping, but I think some wood putty will help to remedy this.
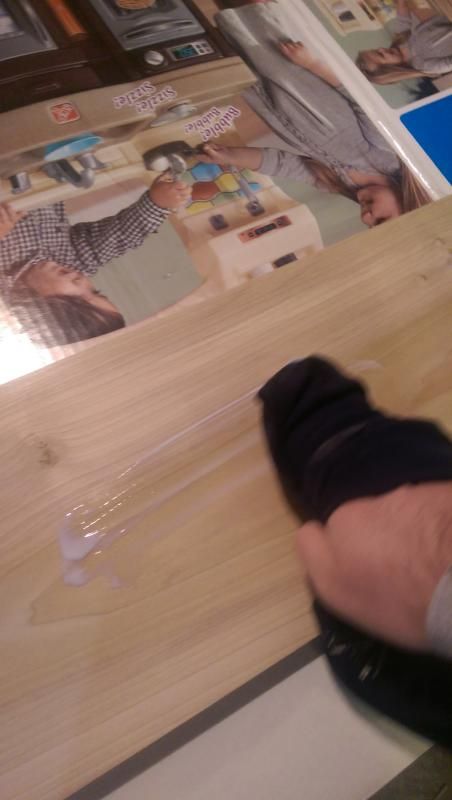
After mitering all the pieces to fit together properly, I used a satin finish clear sealant on all sides of all the pieces. Freezers are humid and create condensation on the inside. The last thing I want is mold, mildew, or mushrooms growing on my wood. And I didn't want the wood to go through cycles of wetting and drying out and end up warping. Plus, working with the liquid in the kegs as well as the cleaning of lines and such, I didn't want to run the risk of beer getting on the wood and staining it. The wood is beautiful enough as it is I didn't want to change the natural coloring, so I opted for the clear sealant without any staining.
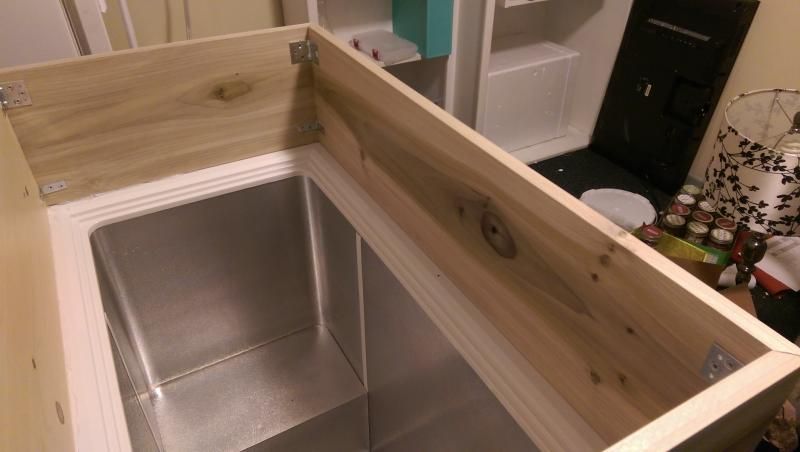
Once the sealant was dried I attached the mitered pieces using corner brackets. I used heavier duty 6 screw pieces as well as 4 screw pieces to give it strength. The 6 screw are near the top as this is where the weight of the lid and setting stuff on top of it will be. The 4 is towards the bottom to keep if from moving around or shifting on only one connection point. I pre-drilled the holes as the Poplar and sealant are quite tough. On my last section of Poplar my drill bit snapped and my drill jumped plunging the broken and still spinning jagged edge into my thumb. Words I don't really want my kids to hear me say came rushing out all whilst my boys looked at daddy dancing around the garage holding his thumb in his shirt yelling to get momma. After a short rest and some Marvel band-aids I was back at it. Luckily, no stitches needed.

After I got the pieces connected I found some gaps and adjusted the connections to fix them. This made the frame not totally level which I discovered when I got it onto the actual freezer. My recommendation: use squaring edges and don't rush, you can even get help.
After my collar was built and ready, I removed the top/lid of the freezer. Some freezer models have super powerful spring hinges that will wack you when that last screw is released. This model doesn't, but still use caution, maybe have someone hold it in place as you remove the screws and step away.
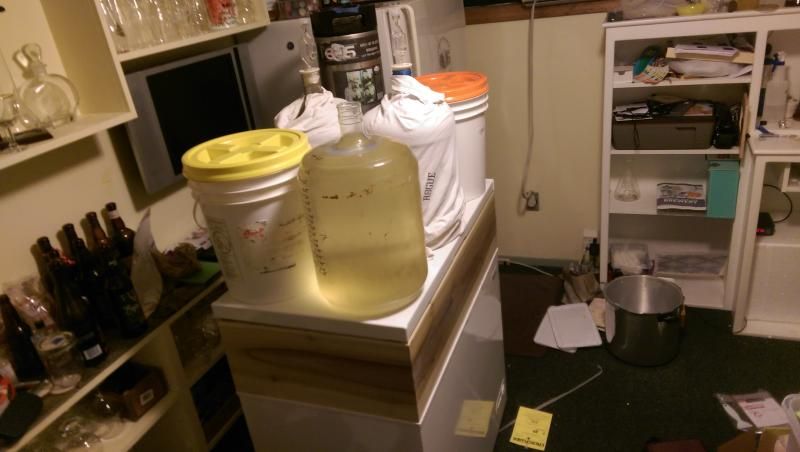
At this point do a dry fit to ensure that the collar fits correctly. After ensuring a good fit I ran a bead of Silicone along the edge of the freezer lip and set the collar onto it. I placed the lid on top of the collar, and placed weight on top of it. I used a full keg, a bucket of grain, 3 sours, and a Better Bottle full of oxiclean water on top of the lid to force the collar down onto the silicone. After 18 hours I removed it all to find that the back didn't hold as it wasn't completely level. I added more Silicone, put the lid on, and re-weighted that corner. After 24 hours I came home to that corner being attached but the front corner was now off its rocker. Added more Silicone, lid, weight all over. 24 hours later everything was secure. I ran Silicone up the joint connections as well to seal the corners of the collar. I took a razor blade and cut away the extra Silicone on the outside of the collar for looks.
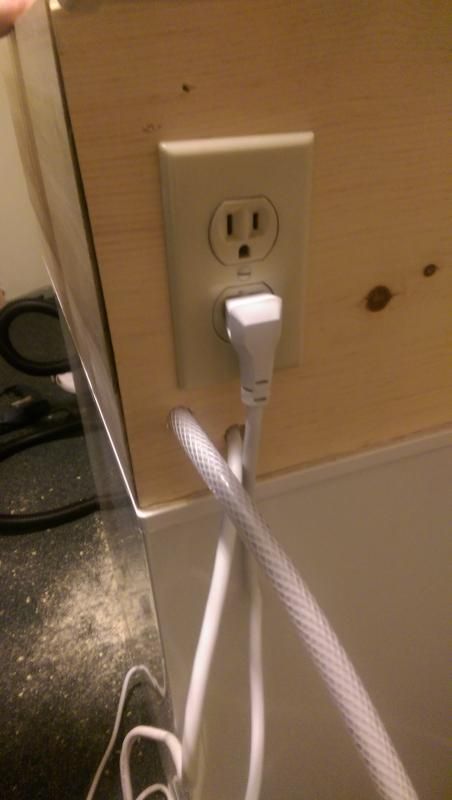
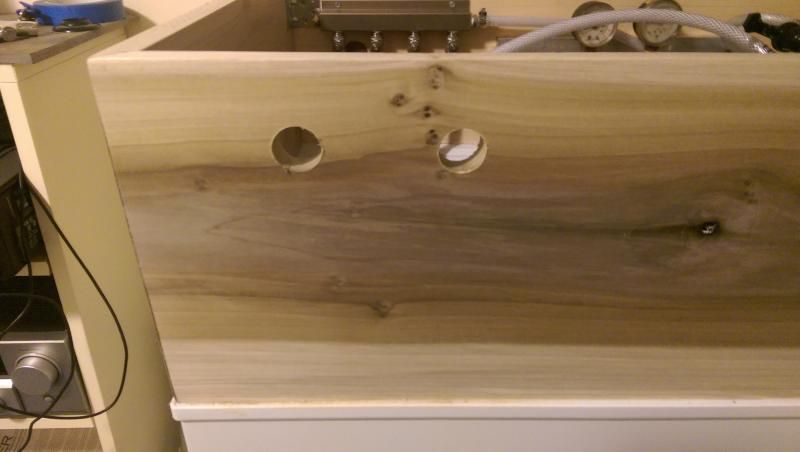
Now I needed to add some holes in the collar for the CO2, power line to the temp controller, and the outlet for the temp controller. I went with a full wall outlet, and I really wish I hadn't. After cutting the holes in the wood I realized that I could have simply bought a 10' extension cord, cut off the receiving outlet end plus 2.5 feet of cord, and ran it through a 1/4 hole to the temp controller leaving the outlet outside and then added Silicone for seal. Oh well. Anyways, I wired up and installed the outlet in the back. To keep condensation from forming on the wires and connections of the outlet I wrapped the whole thing in electrical tape.
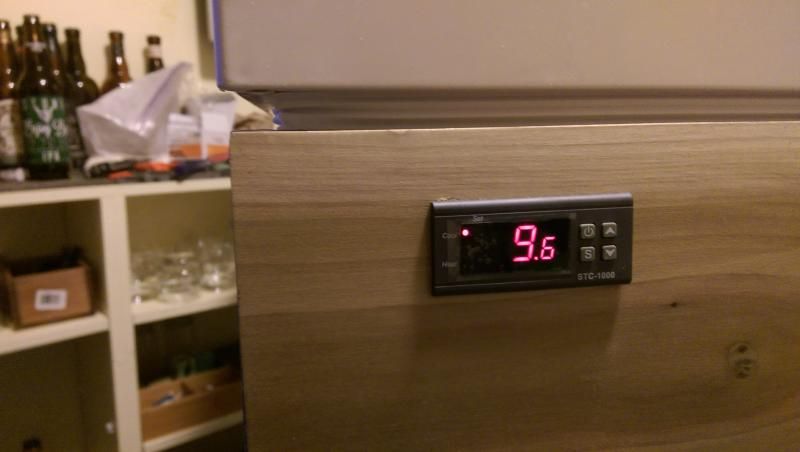
I cut a whole in the side of the collar for the temp controller. I didn't want it on the very front face, but sure didn't want it on the back where I couldn't monitor it. I wired up the controller to the outlet and all the other connections and then attached it to the wall of the collar. I ran all the wires through a metal conduit box and covered the temp conrol unit. I am hoping that this protects it from bumping, as well as from some condensation on the wires and connections.

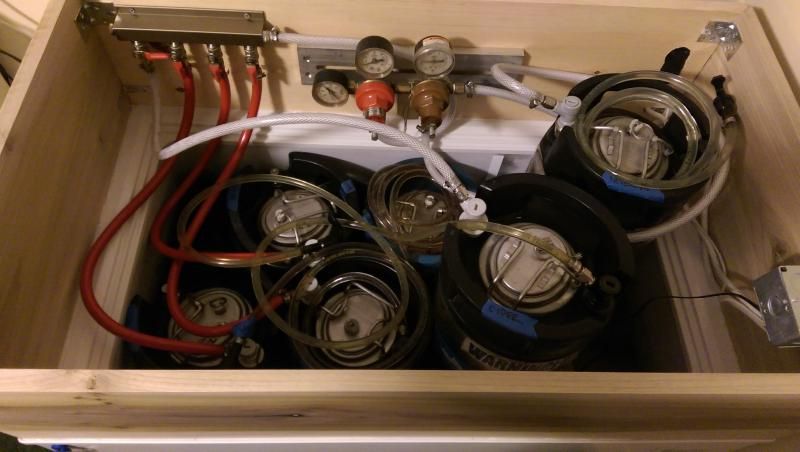
Next I ripped my dual body CO2 guage plus a 4 way splitter out of the fridge and installed it inside the freezer on the back collar. I also added my 3 way splitter. This gives me 7 CO2 points and 2 different levels of CO2. I can fit 6 kegs, and have the ability to do 1 to 3 at higher CO2 levels for sours, Saisons, Belgians, and Weisse as needed. I ran the line out the back of the keezer to a valve that allows me to shut off the flow to the keezer. This gives me the ability to keep my system pressurized when I disconnect the tank for refills or for using the CO2 for transfers or purging. All I have to do is throw the switch and then disconnect my tank.

After all this was done, I secured the lid on top and attached it again. I plugged the freezer unit into the outlet on the back, plugged the temp controller into the wall, and set the temp on the unit as well as the differential and delay on the cool side so as to not wear out my pump trying to keep exactly 2.2*C. I used a 10 minute delay and set the differential to 0.5*C each side, so it can go as high as 2.7*C before kicking on again. The beer will not get that warm that fast, so it is all well and good.
At this point I moved the keezer into position and put the 6 kegs into it. I let them chill for 24 hours and took my first pour. It worked.
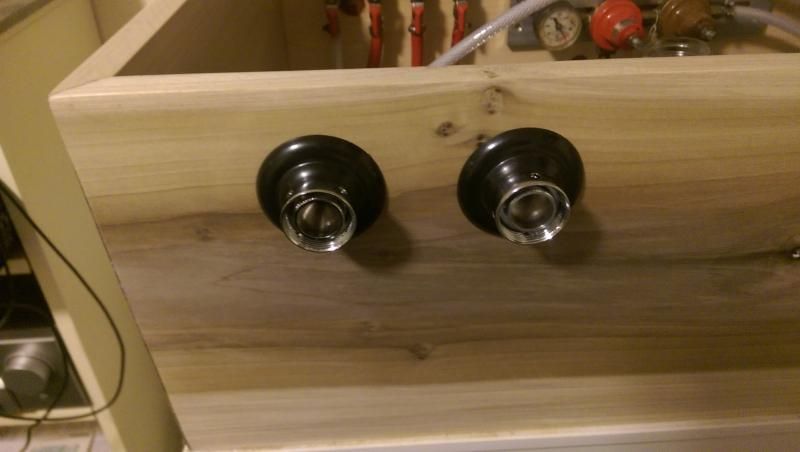
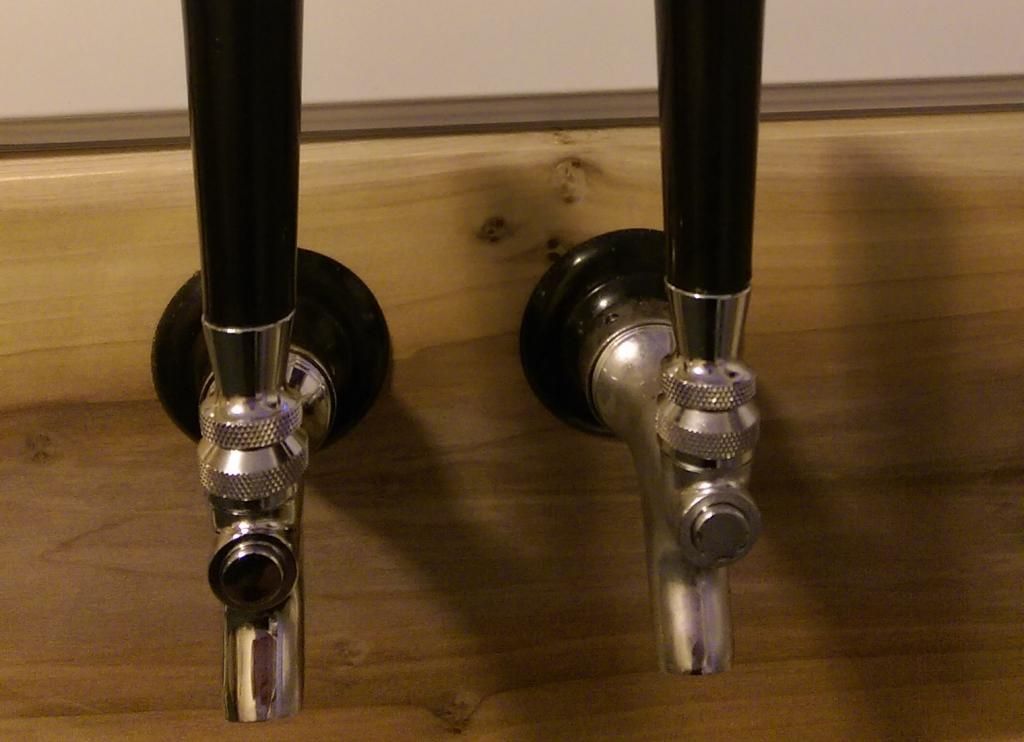
A few days later I recieved my first 2 taps for the keezer in the mail. I drilled the holes on the front of the keg 3.5" apart on center to leave room for tap handles to not bump each other. I dropped down about 1.5 inches to give a little clearance but not so that they are too far down as to cause stooping to pour. I ran the shank through, attached with the nut on the back, hooked up the tap on the front and tightened with a spanner wrench, and threaded on the handles. I took 2 tap lines off of my kegs and cut off the picnic taps. I hooked up the barb for the tap and the nut to attach it, then hooked it up to the back of the tap and gave it a good tightening with a wrench. Once it was all snug and in place I was ready to go.

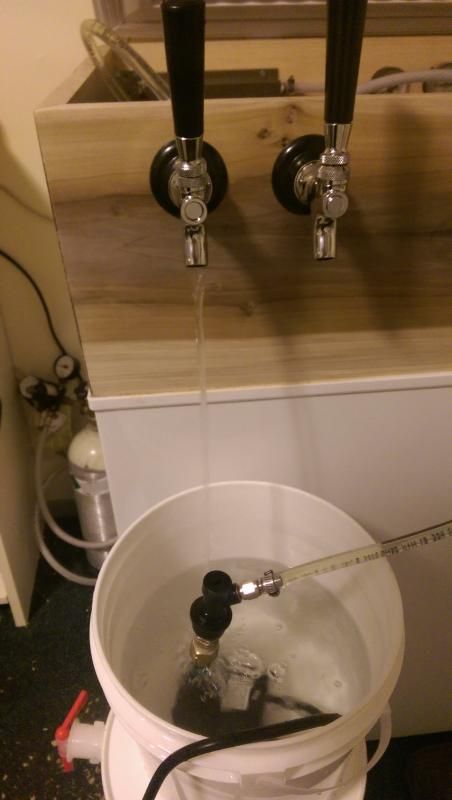
I hooked the lines up to my pond pump cleaning system and ran a cycle of Oxi-Clean, rinse water, and StarSan through all my lines to ensure everything was clean and sanitized - no dirty beer lines. I hooked the quick connects to the kegs and dumped a cup from each to clear the Star-San out of the lines.
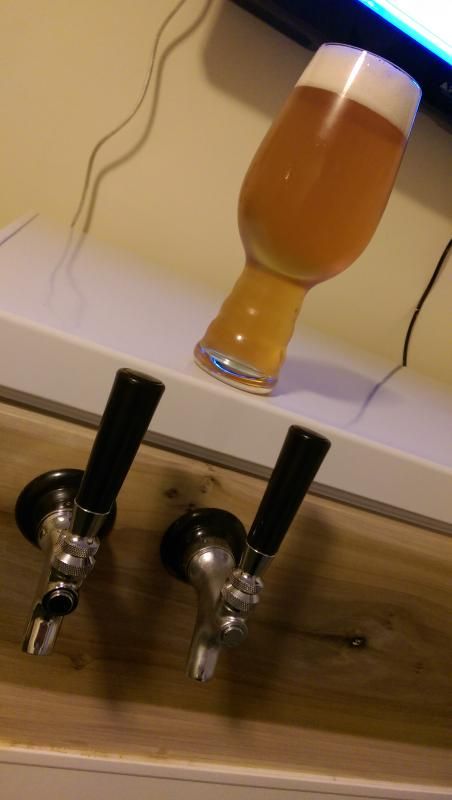
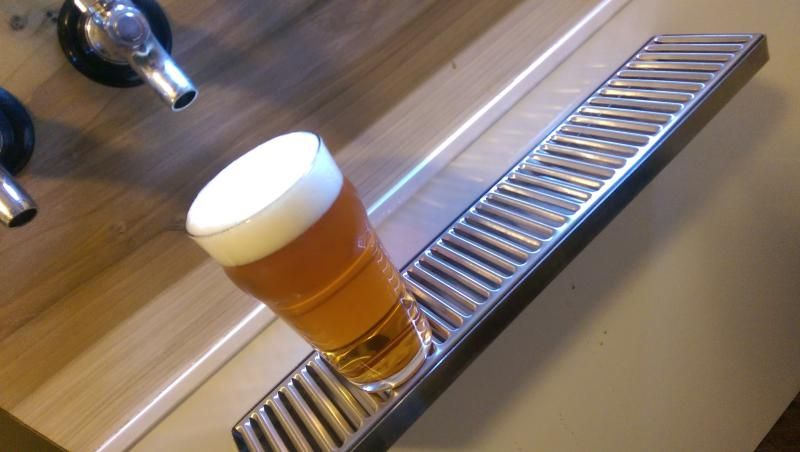
First pour from a real tap was a beautiful thing to behold, and enjoy!

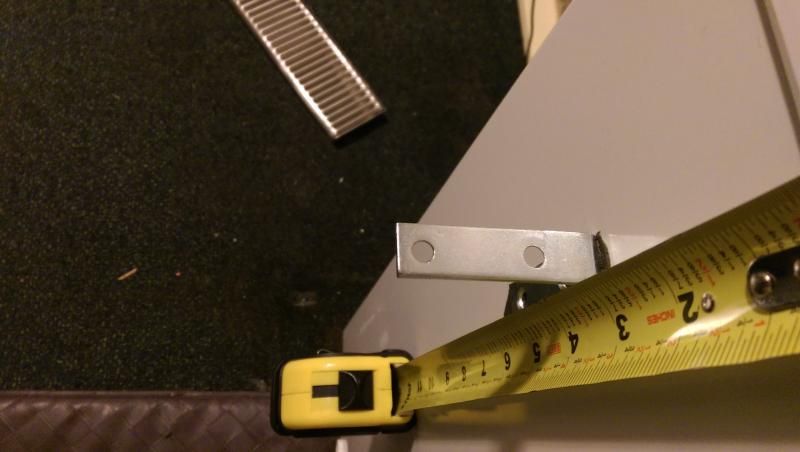
But, of course, once you pour that beer, what do you do with the drips of beer that fall from the tap? Setting a bucket on the floor is fine when it is sitting out in your garage, but when you have it in the house as part of a home bar, what then? I installed a 19" drip tray below my taps. It is quite long compared to the 2 taps in the keezer, but when the other 4 taps are added the drip tray will fit perfectly under all 6. The issue with Stainless Steel drip trays is how to attach them to the front of the keezer. If you collar is tall enough you could just fix it to the wood, but I needed it a little lower than that for my set up (tall enough for a Weisse or Pilsner glass). After scouring the homebrew forums for answers I decided to epoxy L brackets to the front, and then use heavy duty velcro to keep the drip tray attached to the brackets. You can't simply screw the L brackets to the front since the screws could pierce the coolant lines rendering the freezer inoperable. I had some JB Weld for my CFC build and cracked radiator, so I opted to use this. I mixed up the JB Weld and added it to one side of the L bracket. I mounted the bracket to the outer front wall of the freezer just under the first tap. The epoxy doesn't set fast enough for you to have a life, the bracket will begin to slide down the freezer. For one of the brackets I used magnets around it on the sides and bottom to hold it in place. For the others I used a lot blue painters tape. Both worked well to hold it in place, the tape works better as it pushes the bracket against the freezer wall, the magnets just kept it from slipping down or side-to-side, but not falling forward away from the wall.
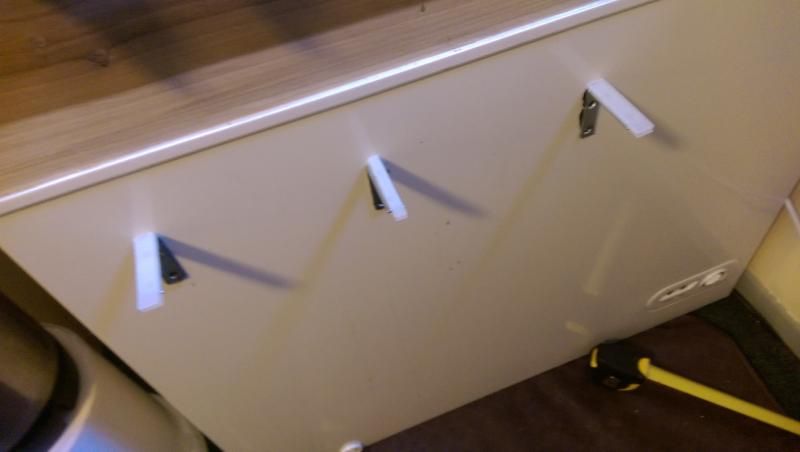
After 15 hours I was able to mount the tray on them using the velcro. It will hold 2 full pints, which is fine for me as I will only usually have 1 on there at a time anyways. When it is time to clean, I just pull it up off the brackets (pull apart the velcro) and give it a good rinse.
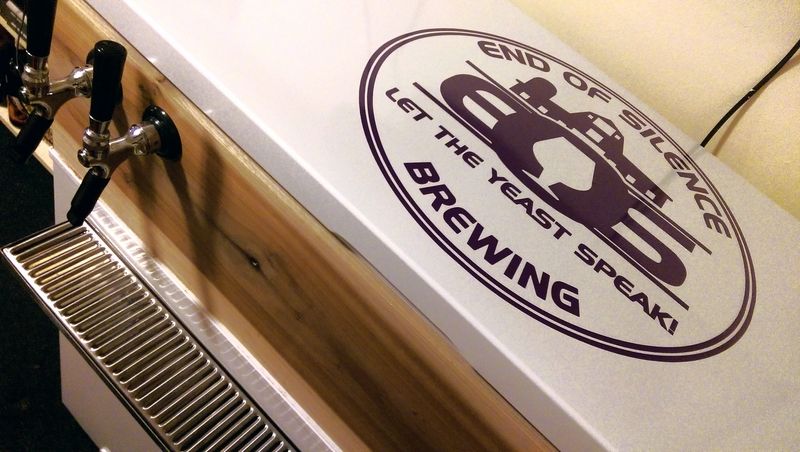
An added bonus for the keezer is some sort of branding and decoration. Some people use stickers, others do labels from beers they enjoy. I went with a large vinyl print of my brewery logo that I adhered to the top of the keezer lid.

No comments:
Post a Comment