
 |
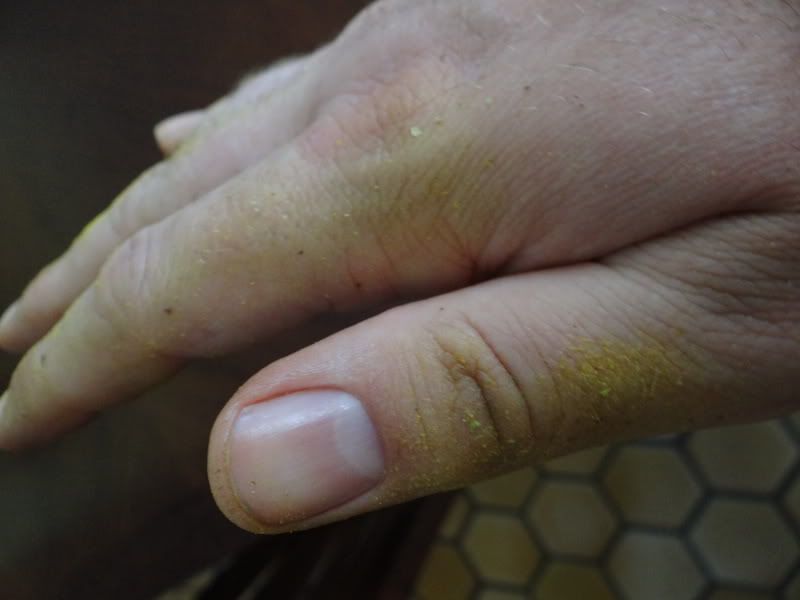
| Lupulin On Hands From Pushing Through Funnel |
The best way to keep hops at there freshest is to flush them with inert gas like nitrogen, and vacuum package them in mylar bags that are then stored cold. Of course, for homebrewers, this is a bit excessive. For us, the best option is to vacuum seal them and store them cold, the colder the better. Some people try to cram as much into a vacuum seal bag as possible, packaging them in 1# blocks. This at first seems like a great idea, but as I thought about it more, I changed the way I packaged hops. I was influenced by Matt Brynildson from Fierstone Walker Brewing, and a local brew-farm. Matt talked about how Chinook taken out of the package and left exposed to oxygen in a refridgerator awaiting the late boil additions goes from pine bomb and wonderfully fruity to cat pee in a very short time. Our brew club also had the hop guy come talk last month from a local brew-farm. They grow their own hops, chiles, spices, and even some grains for use in their beers. He was talking about how they have started packaging their hops in recipe quantities. So if they know their recipe uses a total of 3# of Cascade in the boil, they package as many 3# Cascades as they need for the year.
If exposing hops to oxygen is a bad thing, then why package them in large quantities? Every time I open a 1# vacuum sealed bag of hops to take out an ounce or two, I am flooding the hops with oxygen. Over the course of opening a 1# package 15-20 times, the last hops aren't as great or prime as the first were. This led me to adopt a new packaging technique. I package all my hops in 2oz increments, and get them down to the size of hockey puck. The 2oz size is perfect for most of my brewing needs as 2oz of Chinook blended with other hops in an IPA is great. Even if I am using only 1oz of hops, I only open the package once, get my ounce out, then reseal it. The size of a puck makes it easy for me to store in boxes (IPA/American box, and Belgian/Lager box) in my freezer.
PACKAGING HOPS
What You Need:
- Vacuum Seal bags
- Vacuum Sealer
- Scale
- Large Measuring Cup
- Plastic Cup
- Paper Bag
- Tape
- Sharpie Marker
- Compactor (Plastic Water Bottle, Empty Jar, Pint Glass)
- Scissors
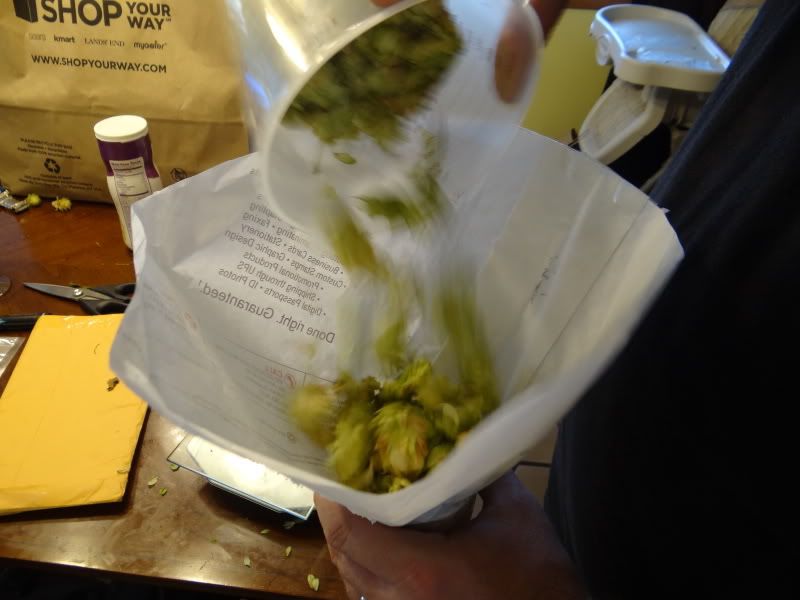
The first thing I did was make the mistake of measuring the hops out on the scale and then trying to put them in the bags by hand. If you use wider bags for your hops you waste a bit of bag because they are harder to compact in before sealing. I got over that quick with 4 things. I cut the bottom off of a plastic cup. I cut the corner off of a flat paper bag from Office Depot that they slide papers in for you at the print shop, and I also cut the bulk away from the outer perimiter making a cone with a hole in the bottom. I slid the cup into the hole from the inside until the top rim was at the bottom of the cone, and taped the bag to the cup on the outside. This was make shift as I had to package that moment and didn't have anything else. For next year I am going to cut a hole in the bottom of a hard plastic bowl and cut the bottom off of a hard plastic cup (both from the dollar store) and hot glue gun them together. The point is to get a cone/bowl for the hops to collect in that then goes to a smaller opening that fits in the vacuum seal bag to funnel the hops in with as much ease as possible.


At this point, seal off the bottom of your bag if it is already not sealed. I bought a package of quart size bags that worked perfect. Once I ran out of those I grabbed my large roll of bags, and sealed all 4 sides, then cut a presealed side off to make a long narrow bag instead of a wider bottomed one.
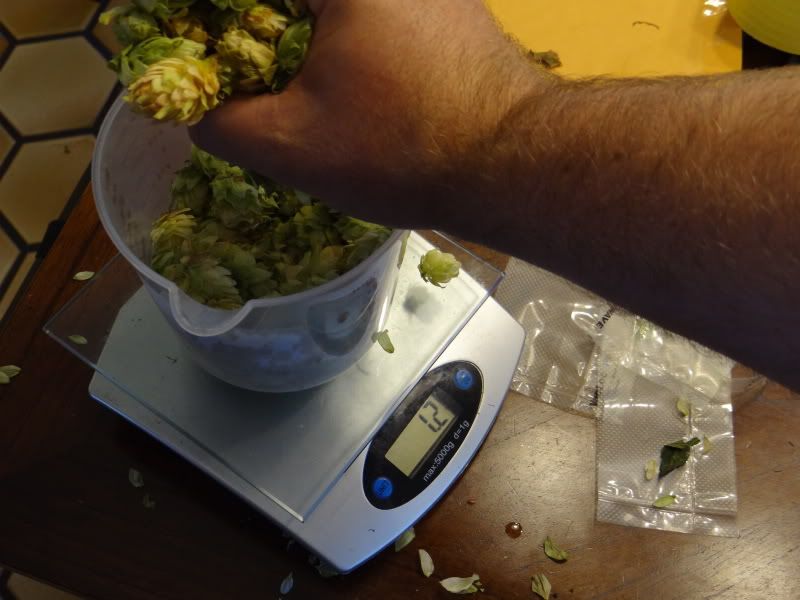
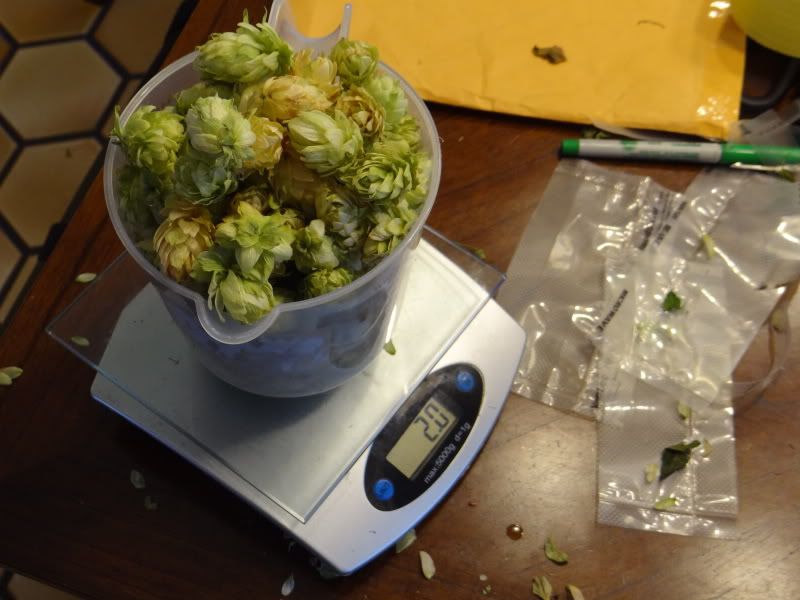
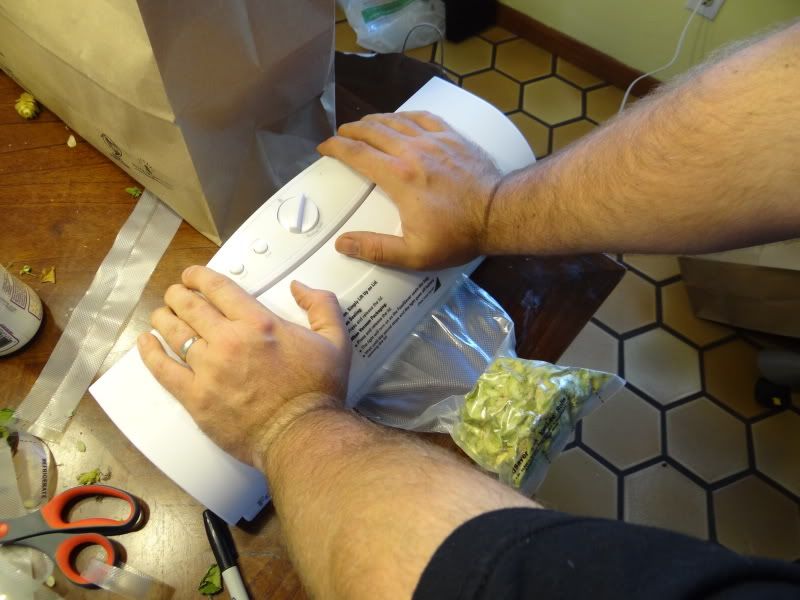
Now, take your scale and place the measuring cup on it, and tare it to zero. Add hops to it until you have 1oz. Pour the hops into the cone/bowl of your "funnel" and push them down through the cup into the sack. Once they are in there, take the funnel out and put your compactor in. I had a narrow long container of baby puff cereal next to me so I used it and it worked great. Cram them down as tight as possible. Measure out another ounce and repeat.

Once you have the 2oz of hops in the bag and forced down tight in the bottom, vacuum all the air out and then seal it up. I like to double seal the top to be sure. As it seals I squeeze it down as much as possible to compact it even more. Once it is done, i drop it on the floor and step on it again to get it as small, tight, and compact as possible.
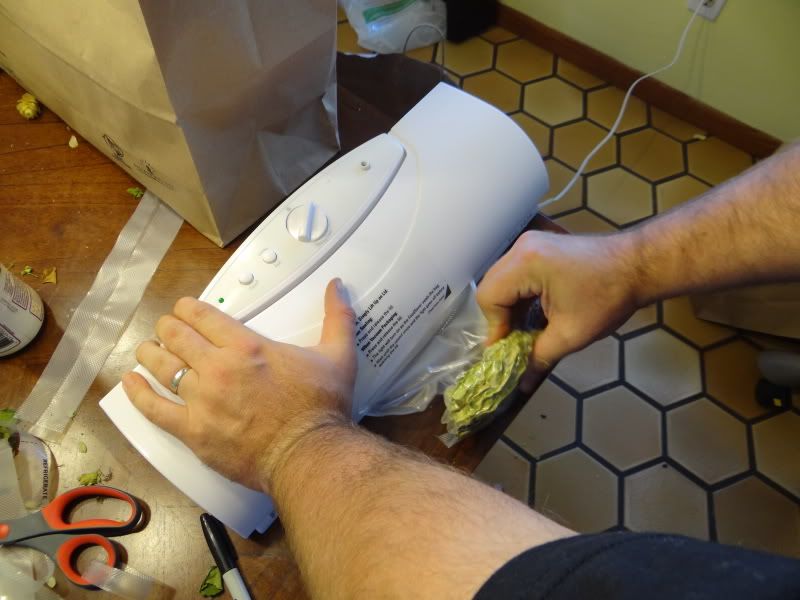

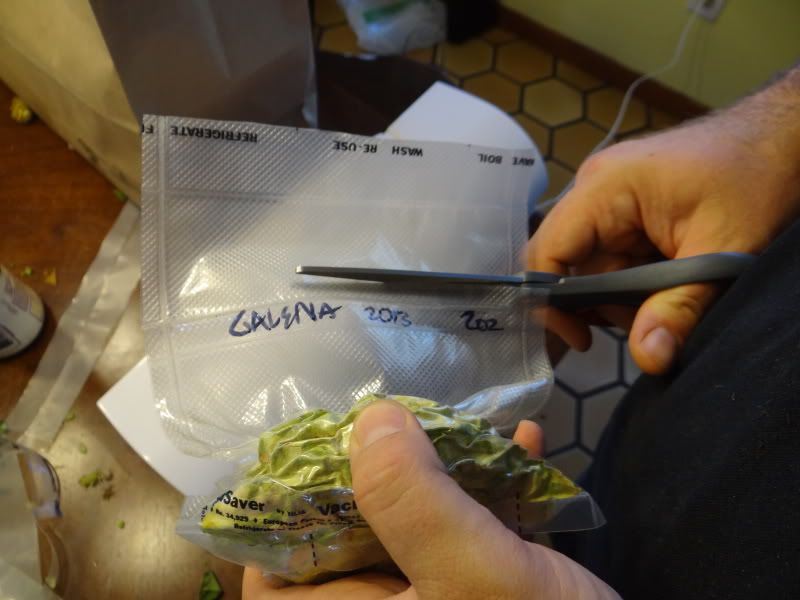
Next, right the variety, year of harvest, and weight along the top. Repeat until all the hops are packaged. Place in the freezer. Open and brew as needed. You can even use this process when you buy commercial hops in bulk by opening the 1# package and separating it out (quickly) into 2oz packages. You can even do this with pellets, just don't step on them as you want them whole.

No comments:
Post a Comment