Showing posts with label trub. Show all posts

Friday, September 14, 2012

Where the Wild Things Are: The Carol


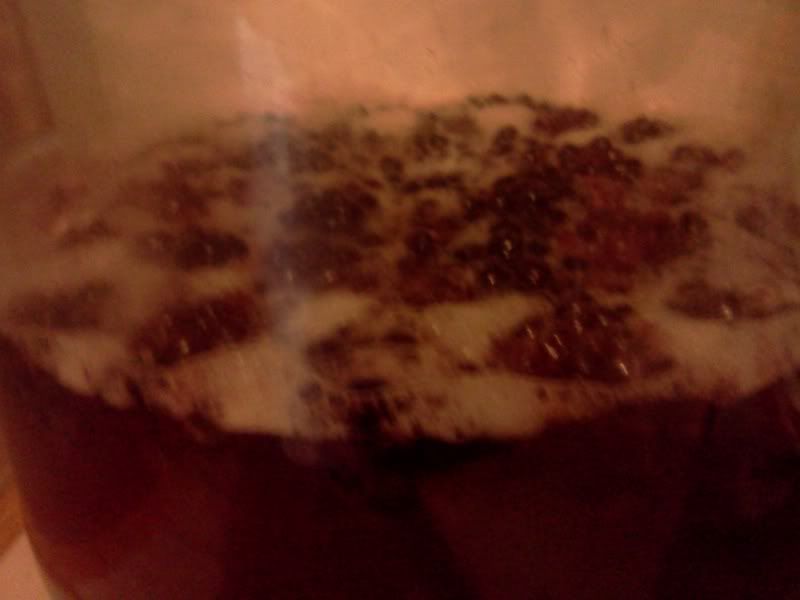
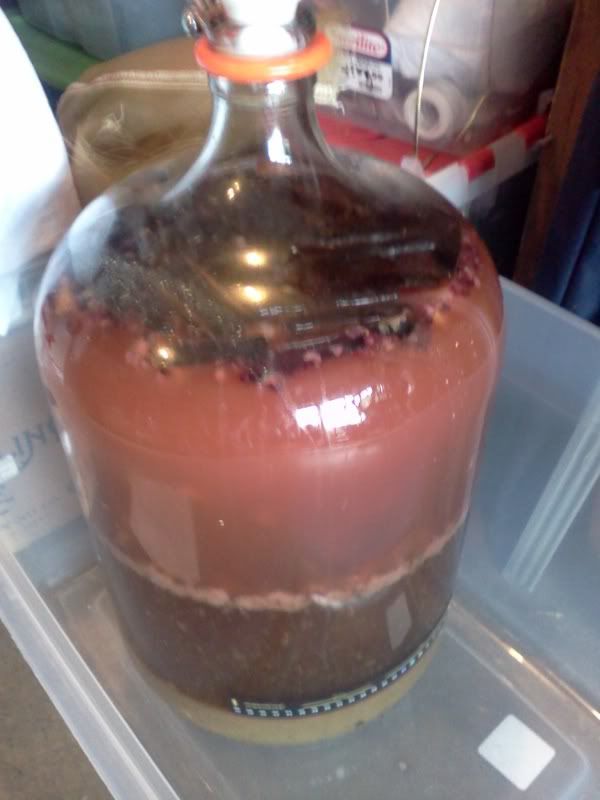
About a year ago, actually, 52 weeks ago, I brewed up a Lambic that I fermented with the yeast I cultured off of blackberries from my backyard and a small starter of yeast from organic peaches grown locally.  After making the wort and adding the entire starter from each yeast to the carboy, I had a "funny" fermentation which consisted of small bubbles flowing up to the top quickly to feed a very small fluffy white head that looked like a single centimeter of soda foam.  Eventually the fermentation looked a little more like normal, but the krausen never really roared up like a normal yeast would.  There were chunks of peach flesh and blackberry, as well as oak chunks on top.  I also added some wild grapes after a month for a little extra yeast.  After only three weeks it was down from 1.053 to 1.006.  Nice and fruity, with a light tartness, mostly tropical and berries.

Over the course of fermentation, I have added dregs from commercial and homebrewed sours to try to get more complexity built up from other sources of Brett and bacteria.  I added some Russian River dregs, Cantillon Grand Cru, Jolly Pumpkin, Oude Beersel, Girardin Black, some infected Logen Berry mead a buddy made, and some dregs from a sour I did with Russian River dregs.  This will ensure a more complex beer, but it also kills much of the work I did culturing the yeast since the final product isn't a showcase of what that yeast can actually do (part of the reason I am going to brew a new one this year with fruit cultured yeast again and leave it alone).

After a few months I noticed a lot of oak character showing, and seeing that I used 5 oz of French Oak that had come from a wine barrel in Lodi, it wasn't any wonder why.  I needed to do something to stop the oaking, but I didn't want to lose all of the goodness in the trub and yeast that is needed for a Lambic to ferment properly.  I racked the beer out of the carboy into my sour bottling bucket and then dumped the trub, yeast, fruit, oak, etc., into a vessel while I cleaned the carboy and removed all the oak.  After this I added a few pieces of oak to the carboy, opened the valve on the bucket and refilled the carboy.  While this was going on I also racked the yeast, trub, and fruit back into the carboy as well.


I noticed an oxidative character beginning to creep in around January, so I brewed a little extra wort on my Saison and added a half gallon to the carboy to displace the head space.  The FG was still at 1.005.  Only took a few days for the fermentation to kick back up and take on the fresh wort.  After about a month or so, it was back down to 1.005.

Given another month, the FG had gotten down to 1.002, and there was a sheen atop the wort slightly resembling an oil slick, not like the pellicles I have seen before on my other sour beers.  By mid summer the taste was nice, funky, tart, clean, fruity, spicy, but lots of oak, so I racked it from the 6 gallon carboy into a 5 gallon, taking some of the yeast sediment at the bottom with it.  Given another month, the oakiness is starting to fade some.  I racked 1/2 gallon out of the carboy and added 1/2 gallon of my sour Blonde ale to try to cut down on the oak a little.  A few weeks later I am happy with the results, and am ready to bottle, and seeing that it is sitting at 1.001, not much more for it to do in the short term.

A beer that I have been watching, shaping, tasting, aging, and waiting on for a year is no simple brown bottle beer.  For this batch I needed to do something special, at least for a few bottles.  I started with 375ml Champagne bottles.  At this point I could go with cork and cage, or cork and cap (Cantillon style), but I opted for a cap and wax seeing as they look very nice, and it's super cheap as well as not requiring extra equipment.  Add to this full labels with art work and it is a very nice show piece, even if it is only 6 bottles worth.

I hope that the beer will carbonate quicker than my other sour which has been bottled for nearly 7 months and is still fairly flat.  Our club has a competition coming up and in late October that I would like to enter this batch into.  I will of course set the bulk of this beer aside to cellar for years to come and continue to develop.

This beer will be the first installment in my new series of beers, dubbed Where the Wild Things Are, named after characters from the children's book made movie.  The first is going to be called The Carol.  One of the main Wilds, he was impulsive, much like brewing a beer with blackberry yeast, adding dregs at random, and over oaking, only to move the beer twice.

NOTE: This beer took 1st place in Sour Beers and BEST OF SHOW in February 2014 at the KLCC BJCP comp.

Wednesday, October 19, 2011

Spontaneous Fermentation Update

Awhile back I did a time line blog of the yeast starters I was making from the wild yeast and bacteria living on the skins of wild blackberries living in my neighbor's yard and from locally grown organic peaches. The brew day has come and gone, and I thought I would fill in the specifics and update on how the beer has progressed thus far.

The recipe:
6.25# Pilsner Malt (54%)
2.25# Vienna Malt (20%)
2.00# Flaked Wheat (17%)
1.00# Caravienne (9%)

90 minute boil
FW Hops 0.4oz Styrian Bobek 3.8AA pellets
15 min 0.6oz Styrian Bobek 3.8AA pellets

10 min 1.50z Cake Flour
5 min 1tsp Coriander, Crushed

Mashed 60 mins @ 152*F
Sparged w/ Boiling water

5.25 gals
OG 1.057
FG 1.002
IBU 10
ABV 7.2%


I mashed at 152*F, I was shooting for 154, but added too much cold water when I was too hot, and it cooled it down too much. I sparged with boiling water to try to extract as much sugar as possible and even some tannins as well. At the end of the 90 minute boil I added some cake flour for extra dextrins and starches for the Brett to chew on over the long fermentation. I cooled it as usual and ran it into the fermenter. I added the 2 starters to it whole, all the wort, fruit, bacteria, yeast, a couple ants, everything. I didn't aerate it since oxygen feeds bad bacteria, and inhibits Lacto growth. It looked kind of stratified until the next day as the different parts were layered, wort, trub, break material, fruit, starter, etc.


After a few days I noticed some odd activity. There was no krausen, but I had used S-Foam, and foam inhibitor, so it is quite possible that it was fermenting and not putting up a krausen. I did notice lots of little tiny bubbles shooting up and feeding a fluffy foam at the top though, and I assume this was from the Lacto working since it releases CO2. Another day later and I saw the wort churning away like any other beer fermentation, so things were going good.


I let it go for a few weeks with out tasting it, and finally on week 3 I gave it a taste. Nice, light, clean tartness, clean fermentation, no off flavors, mild funkiness, slightly fruity, not much oak character, gravity was 1.005. Quite happy with it. I tasted it again 1 week later and the oak is starting to show some; I will be watching this since I don't want it to be too oaky. If it gets where I want it I am going to rack the beer off, remove the oak, and add the beer back to the trub, yeast, and fruit for longer conditioning and funkdifying. So far I am very pleased. I even used the yeast to ferment a cider.

NOTE: This beer took 1st place in Sour Beers and won BEST OF SHOW in February 2014 at the KLCC BJCP comp.
Monday, September 26, 2011

Primary Fermenter Turned Bottler

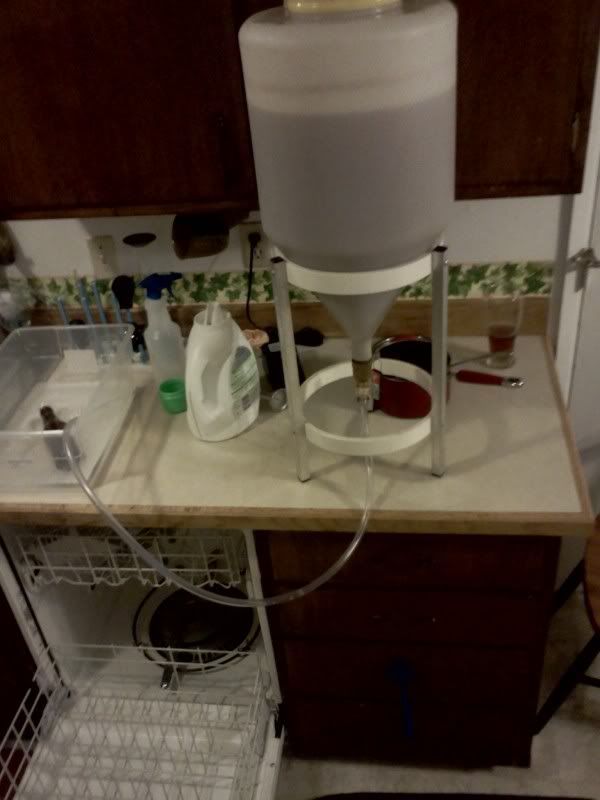
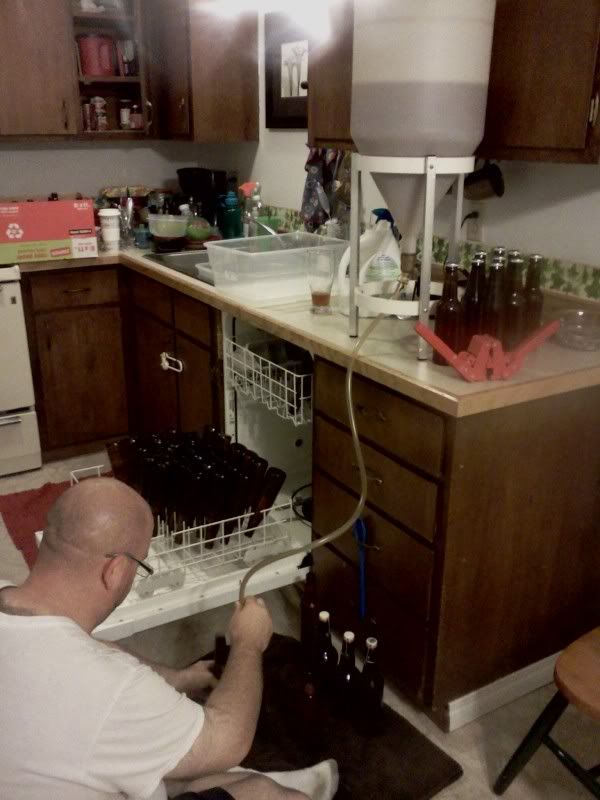
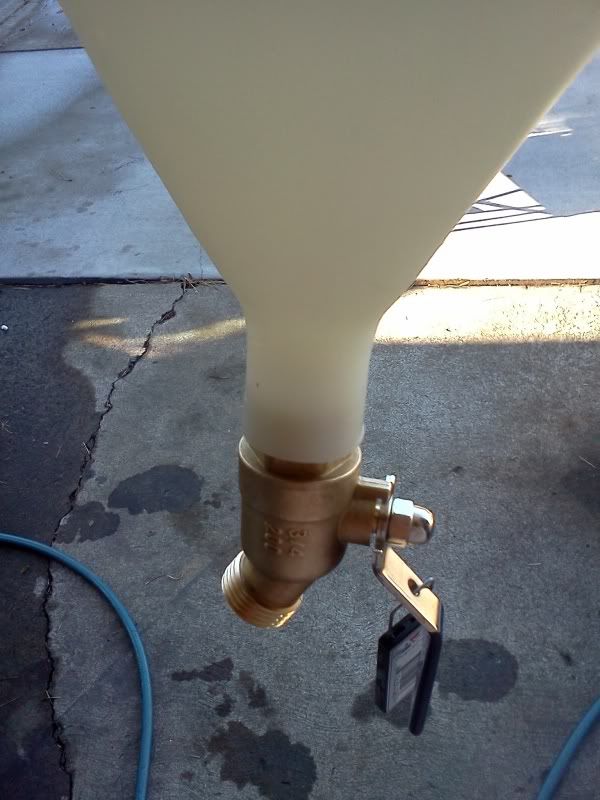
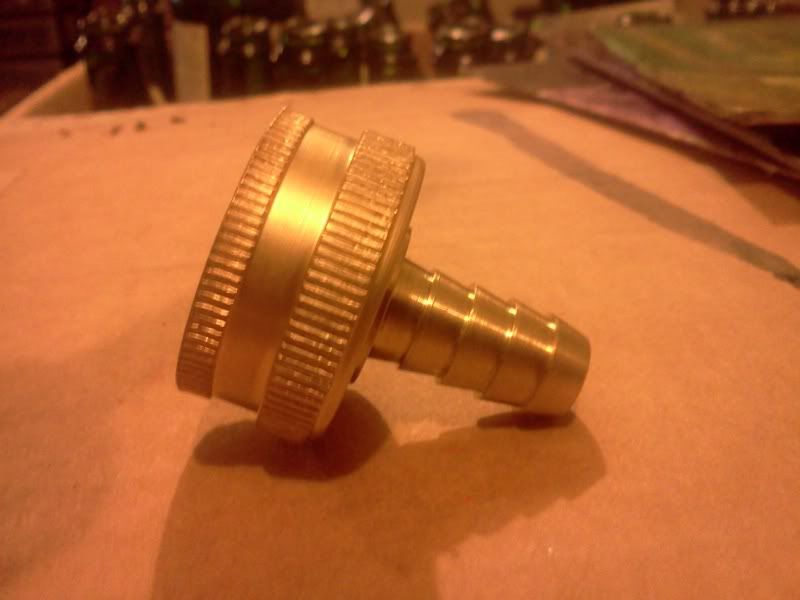
In previous posts I have talked about the "new" conical that I scored from the guys @ VV&B, and some tweaks I had made to it. This weekend I took a stab at using another function that I equipped my conical to do. When I was piecing together the parts to fit the conical with, I bought a 3/4" female hose thread to 3/8" barb adapter to attach to the ball valve for transferring the beer since the ball valve would allow too much beer to flow at once, and it would just spew it causing tons of splashing and aeration. Another possibility for this use is to attach a bottling wand to the transfer hose, and bottle directly from the primary conical fermenter.

After opening the ball valve and removing the trub and yeast collected at the bottom of the cone (3 pint glasses worth), I added my priming solution directly to the fermenter and mixed it in well with a sanitized slotted spoon. We (my wonderful wife always helps bottle, and I am grateful for it since she is amazing with the capper, and I am not) then began bottling directly from the fermenter. The first bottle was a flop as it had quite a bit of yeast in it, but from that point on, it was smooth sailing. And in the end, I only had to clean the fermenter which I would have to do anyways, no extra equipment... no bottling bucket to clean. We will see soon how well it worked once I can taste a bottle of my Fresh Hop IPA, and see how much yeast sediment is in the bottles, and how it carbonated. So far it looks about normal in the bottles.

Monday, August 29, 2011

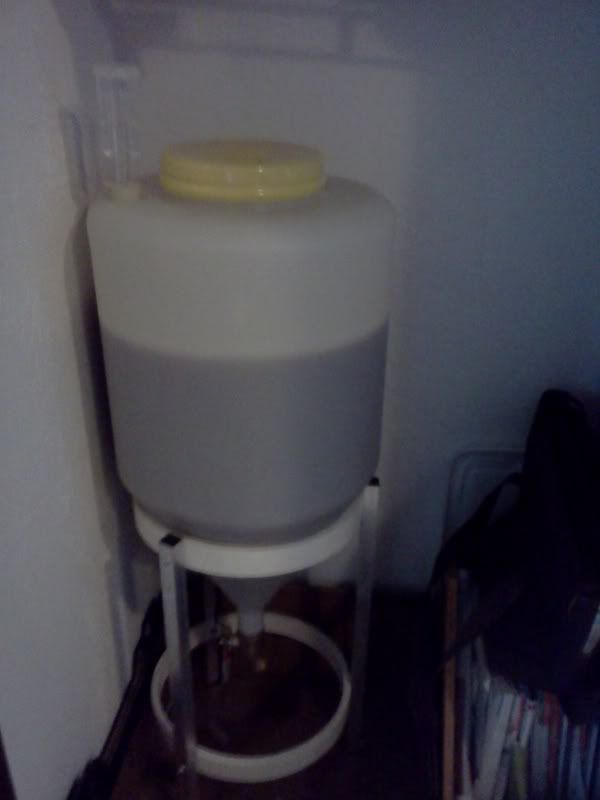
Conical Fermenter

Oxygen wreaks havoc on a finished beer. It will stale the beer and make it taste like wet cardboard. When using a typical carboy, bucket, or Better Bottle (PET plastic carboy), you have to rack (transfer via syphon) the beer out of the container into a new one to remove the trub (the globs of matter from the boil), hops, or yeast. Some beers need longer bulk storage to age and it is best to do this off of the yeast; once the yeast are done fermenting if they stay in the beer and under pressure at room temp they can die and autolyse spewing their innards into the beer wrecking it. It is also advantageous to remove the beer from the yeast when you Dry Hop (add hops to the fermented beer for fresh aroma); yeast still in suspension can grab some of the oils from the hops and take them out of the beer causing the Dry Hops to lose some of the desired effect on the beer, and the same goes for adding fruit or spices. Whenever you transfer the beer from one vessel to another you expose the beer to oxygen (the second container is full of it). Then, when you transfer from the secondary to a bottling bucket you expose it again.

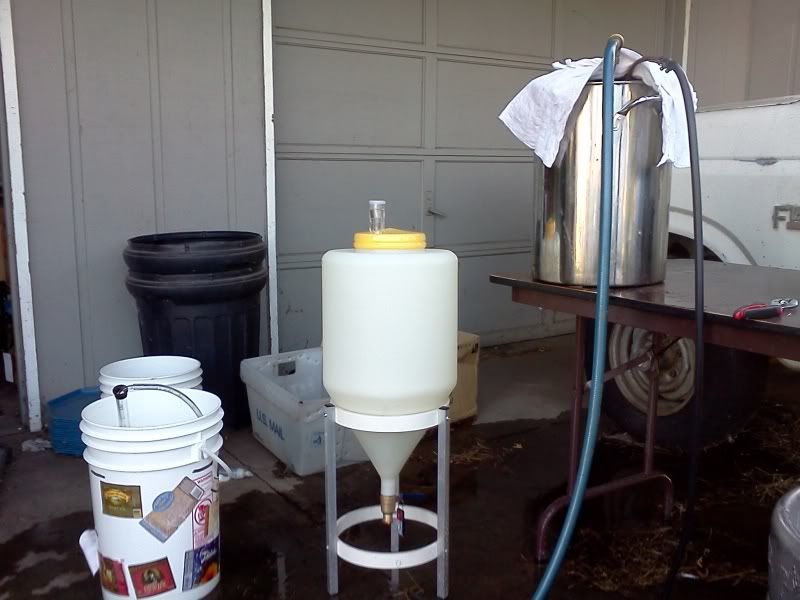
A conical is another type of fermenting vessel that is typically used in the brewing industry for different reasons. One huge advantage of a conical is that when it is fit with a port at the bottom you can keep the fermenter as a closed system, avoiding the oxidation you just read about above. In a (sanitized) conical, you add the wort after chilling, pitch your yeast, and "seal" the vessel. During fermentation the yeast produce CO2 which escapes the system via a blow off tube or air lock, and it pushes any oxygen in the vessel out with it. Once fermentation is finished the vessel has no oxygen in it to damage the beer. To remove the trub, hops, and/or yeast, you open the port at the bottom of the vessel allowing it to flow out, and then reseal the port once it is cleared. The vessel is still oxygen free, and it is now free of the yeast and trub as well. At this point you can add your fruits, hops, spices, etc. to the vessel through an opening in the top and then reseal it; the CO2 layer on top will help to protect from too much oxygen getting in when you open it (much more than moving an entire 5 gallons into a 5 gallon container of air).

Once your beer is done and ready to package, you can drain it from the bottom of the conical into a keg, or bottling bucket, or, as I hope to do, add the priming sugar to the beer in the vessel, gently stir, and then attach a bottling wand to the port and bottle from the fermenter itself.

All this to say, I scored a conical from the home brew shop last week, and it is currently holding the Mild I brewed over the weekend. The conical was just the vessel itself, and I had to buy the fittings for it. I went to Lowes and bought a brass ball valve hose bib for $9, and then also bought a 3/4" female threaded hose end to 3/8" barb adapter so I can attach it for bottling or transferring the beer. For running off the trub and yeast the ball valve is good as it has a wider opening (1/2") so nothing will clog. But I don't want the beer flowing at that unimpeded rate (causing excessive splashing, thus defeating the purpose of avoiding oxygen), nor do I want it passing through a tube the size garden hose, which is why I have the adapter, I can now control the flow through the ball valve and the narrower tubing.

One problem I have found is that the thicker wall of the plastic conical makes it harder to know what temperature the fermenting beer is at. At this point I have been removing the airlock and inserting a thermometer a few times a day. To solve this problem I am going to drill a hole in the top of the vessel (between beers of course), insert a small rubber bung and pierce a thermometer through it into the wort so I can have a constant reading on the actual fermentation temperature. I also need to find some way to control the temp on it since I can't put it into a water bath and add ice as I could with my Better Bottle, bucket, or carboy, which may cause a few problems with this beer since it got up to 75*F and the yeast is only supposed to go to 72*F. I would also like to add a sampling port to the side of the conical so I can take taste tests or gravity readings without opening the vessel to air. I am also looking for a tallish cupboard that I can drill a hole in the top of to hold the fermenter, this will allow me to keep it higher and more stable (away from my son who would love to play with it), and to put another vessel under it if needed (bottling bucket, glass carboy for souring, bottles, etc), and if i get a double level cupboard I can attempt to temp control the fermenter.